Top 5 Quick Weekend Projects with the Raspberry Pi Pico
Beginner, Getting Started, Home Automation, PiShop, Platforms, Projects, Raspberry Pi Pico, Robotics, Skills easy, getting started, home automation, projects, quick projects, raspberry pi, raspberry pi pico, Tech 0
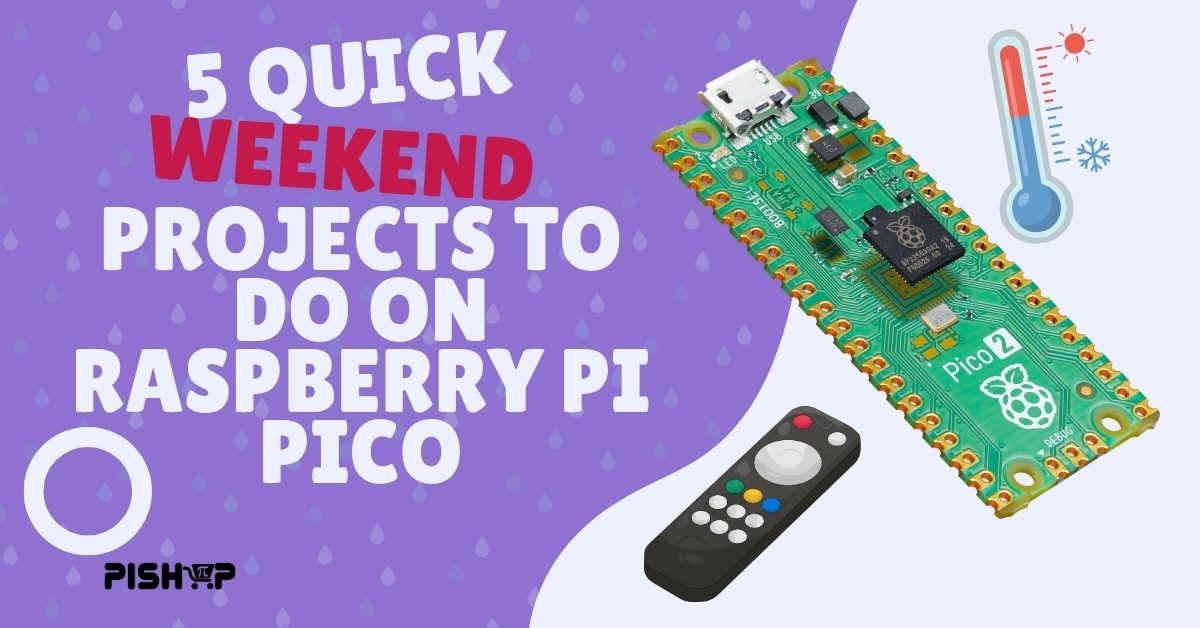
Ever felt that you were in dire need to just make something, to just design anything but didn’t have the slightest clue of what to do or didn’t have the time? This is where the Raspberry Pi Pico and the Pico 2 comes in! It’s the ultimate micro-board for super quick weekend projects that boots instantly, uses minimal power and connects seamlessly to quite the variety of sensors.
Whether you are one of the above mentioned people or not, I’m gonna suggest 5 projects that you can do in 2 hours with a Pico.
1. Custom USB Macro Pad or Shortcut Keyboard
Turn your Pico into a dedicated mechanical hotkey pad for Discord mutes, Photoshop shortcuts, or media controls. Because the Pico natively supports USB HID (Human Interface Device) emulation, your computer reads it just like a second keyboard.
It’s pretty much our most recent article with the Racing Sim except a bit more dumbed down and if you wanna take it a step further you can use a potentiometer or an AS5600 as a Volume Knob!
What you need: Raspberry Pi Pico, 3–4 mechanical switch keys, jumper wires, a small breadboard.
Estimated time: 1.5 to 2 hours
Why build it: It’s super practical for daily productivity, and you can program any complex keystroke combination into a single button press.
2. Desktop Mini Weather Station
Keep tabs on your local environment with a lightweight weather monitor. Pair a Pico with an I2C OLED screen and a basic sensor to display live temperature, humidity, and atmospheric pressure.
If you want to take this project further you can try using a Pico W to connect over the network and seperate the sensor hub from the display! We’ve seen many try this out using ESPhome or their own custom code.
What you need: Raspberry Pi Pico, DHT22 or BME280 sensor, 2.23-inch OLED display.
Estimated time: 2 hours
Why build it: A classic beginner project that teaches you how to read data over I2C and draw graphics to a small display.
3. Wi-Fi Local Traffic / Status Indicator (Pico W)
If you use the Pico W, you can tap into web APIs without extra hardware. Set up a simple status lamp that lights up an LED when a build passes, when a package ships, or when local weather calls for rain. We’ve seen similar projects like this one and they can be turned into some fantastical art pieces if you really want to!
What you need: Raspberry Pi Pico W, RGB LED (or Neopixel strip), 330Ω resistor.
Estimated time: 2 to 3 hours
Why build it: MicroPython makes fetching web data via HTTP requests straightforward, giving you instant physical feedback from digital events.
4. Infrared (IR) Remote Control Decoder & Blaster
Take control of old electronics. By wiring a cheap IR receiver and IR LED transmitter to your Pico, you can capture signals from any TV or air conditioner remote and replay them on demand.
What you need: Raspberry Pi Pico, IR receiver module, IR transmitter LED.
Estimated time: 1.5 hours
Why build it: It opens the door to automating legacy devices that don’t native support smart home protocols.
5. Reaction Time LED Game
Test your reflexes! Wire up two pushbuttons and a few LEDs. The Pico turns on an LED after a random delay, measures how many milliseconds it takes for you to hit your button, and displays your score on an LCD screen or over the serial console.
I mean this one isn’t really useful but if you have the components it can afford you a couple minutes of entertainment before you realize you wanna do the other projects in this article.
What you need: Raspberry Pi Pico, 2 pushbuttons, 2 LEDs, resistors.
Estimated time: 1 hour
Why build it: Great project to build with kids or introduce absolute beginners to hardware interrupts and timing loops.
Conclusion
You don’t need a massive workshop to dive into microcontroller projects. Grab a Raspberry Pi Pico or a Pico W, a basic breadboard starter kit, and a micro-USB cable from the PiShop store, and you’re ready to go!
If you do end up building any of these projects make sure to notify us! We’d love to hear from you about how you went about it.