Octoprint and 3D printing
Why Octoprint? Ever lost your 3D printers SD card? Has the SD card gotten corrupt? Or your computer is just not in the same room as your printer?
Many products these days offer a network solution to this problem but puts the control that these units operate with, in their hands and you should just accept the software as they provide it, right ? If this is not what you want, why not try an Octoprint setup instead?
What do you need to get started?


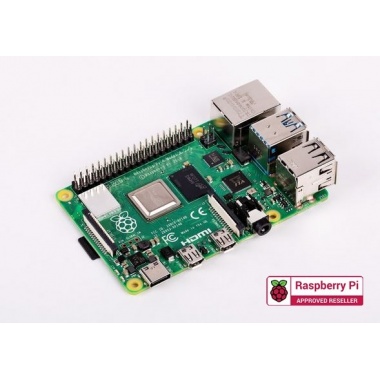
A Raspberry Pi, we recommend the Raspberry Pi 4 2GB
If you want to view your print live remotely you need to add a camera with one of our nice long camera cables, either 500mm, or 1000mm
An SD card with the Octoprint image
Your Pi will also need some power, you can opt for an official power supply or if you are a little more technical you could also power your Pi directly from you printer power supply using a step down converter
Now that you have all the hardware that you will need. It is time to take a look at what software you will need.
Software
Full installation and setup instructions can be found on the Octopi downloads page. OctoPi is available through the Raspberry Pi Imager, which you can use to download and setup OctoPi.
Here’s how to get started installing OctoPi:
- If you haven’t already, download and install Raspberry Pi Imager on your computer
- Find the OctoPi image under ‘Choose OS’, by selecting ‘Other Specific Purpose OS’ followed by ‘OctoPi’
- Open advanced options by using the keyboard shortcut
ctrl+shift+xto configure your Wifi connection:- Set your SSID, password and WiFi country using the options:
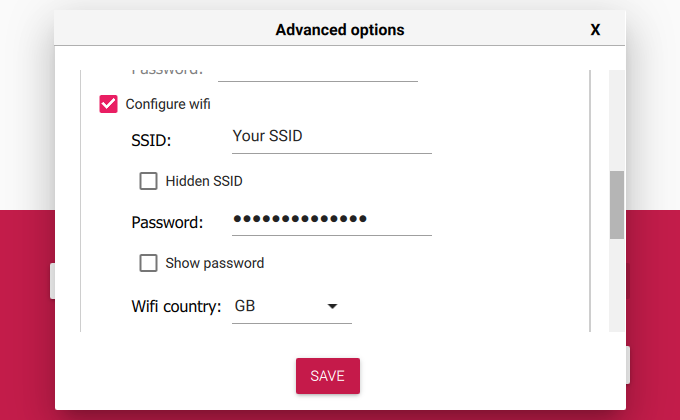
- Set your SSID, password and WiFi country using the options:
- Install the image to your SD card, then plug everything in to your Raspberry Pi and boot it up. Do not format the SD card after installing, even if prompted to do so. This will break the installation and you will have to start over!
- Log into your Pi via SSH (it is located at
octopi.localif your computer supports bonjour or the IP address assigned by your router), default username ispi, default password israspberry. Runsudo raspi-config. Once that is open:- Change the password via “Change User Password”
- Optionally: Change the configured timezone via “Localization Options” > “Timezone”.
- Optionally: Change the hostname via “Network Options” > “Hostname”. Your OctoPi instance will then no longer be reachable under
octopi.localbut rather the hostname you chose postfixed with.local, so keep that in mind.You can navigate in the menus using the arrow keys and Enter. To switch to selecting the buttons at the bottom use Tab. You do not need to expand the filesystem, current versions of OctoPi do this automatically. You also do not need to manually enable the RaspiCam if you have one, that is already taken care of on the image as well.
- Access OctoPrint through
http://octopi.localorhttp://<your pi's ip address>.httpsis available too, with a self-signed certificate (which means your browser will warn you about it being invalid).
Please also refer to OctoPi’s README, especially the “How to use it” section.
Alternative Wifi Setup
If you aren’t using Raspberry Pi Imager, then you can also setup the Wifi connection using the octopi-wpa-supplicant.txt file on the root of the installed card when using it like a thumb drive. Important: Do not use WordPad (Windows) or TextEdit (MacOS X) for this, those editors are known to mangle the file, making configuration fail. Use something like Notepad++, Atom or VSCode instead or at the very least heed the warnings in the file.
Please also refer take a look at the full WiFi setup guide in the FAQ that also includes troubleshooting tips.
The MagPi issue #36 contains a “Getting Started” guide on pages 50-51. You can find an excerpt here (MagPi License: CC BY-NC-SA).
If you need any other information, feel free to email us: [email protected]


