Building an Alien-Inspired Motion Tracker with a Raspberry Pi Pico (Part 1: Conception)
3D Printing, Beginner, Getting Started, Other, PiShop, Platforms, Projects, Raspberry Pi Pico, Skills 3d printing, beginner, cosplay, raspberry pi, raspberry pi pico, sensors, Tech 0
A staple of any hobbyist convention is watching cosplays ranging from Star Wars to Disney and even Warhammer come together into a massive blend of all those different universes! It’s always inspiring to see the creativity people bring to these events.
I’ve always wanted to try building my own cosplay prop, and with a few upcoming events on the horizon, now feels like the perfect time to start.
Instead of just watching tutorials on YouTube, it’s finally time to build something myself.
The Inspiration & What We’re Building
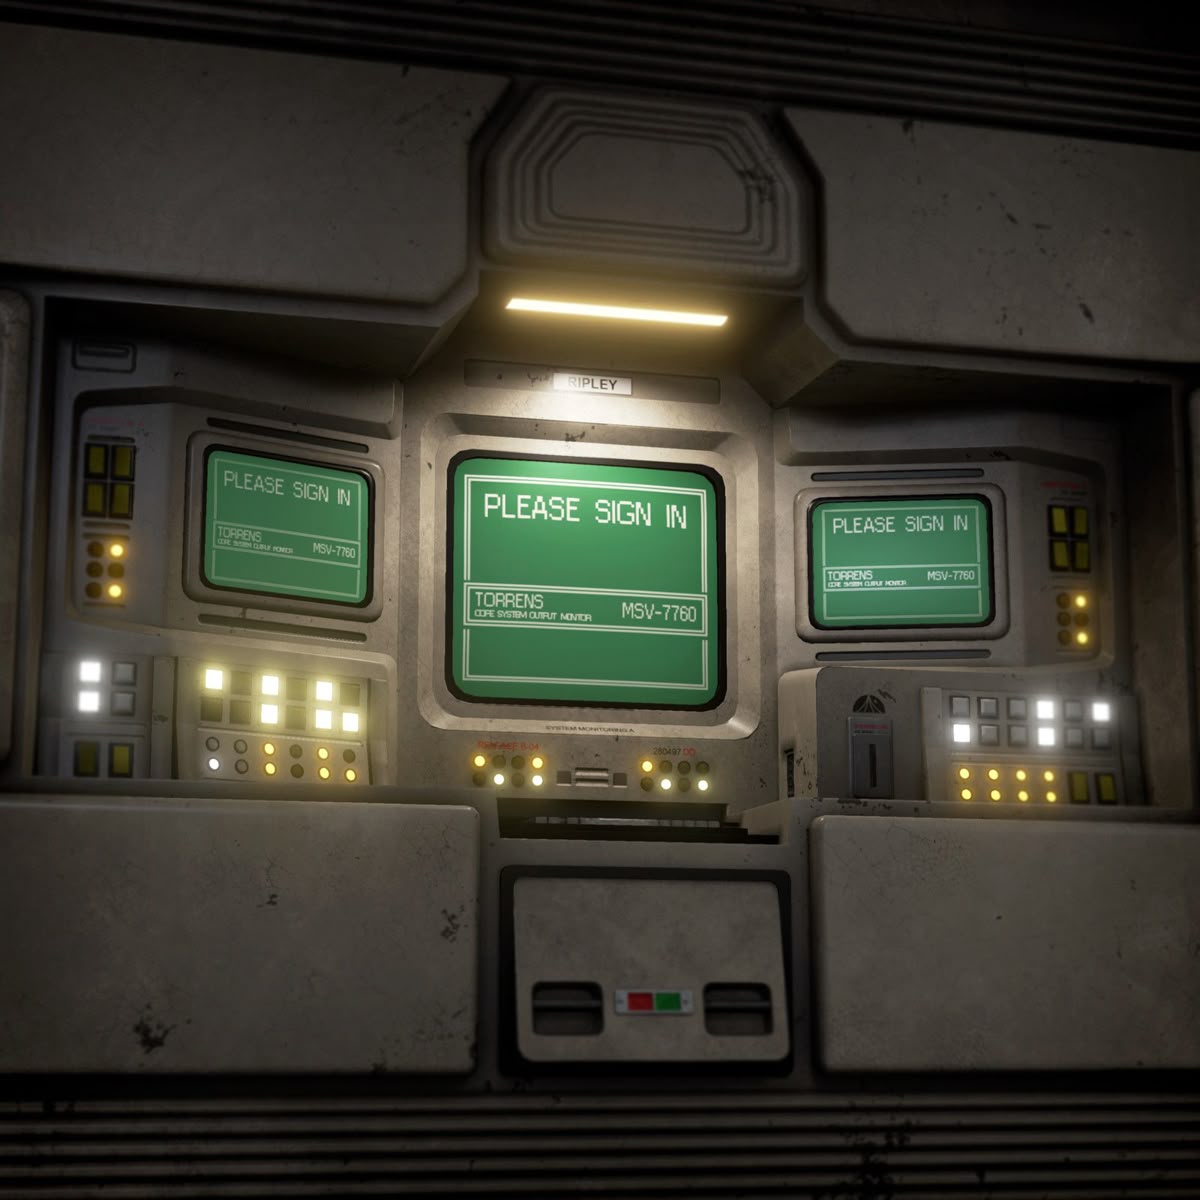
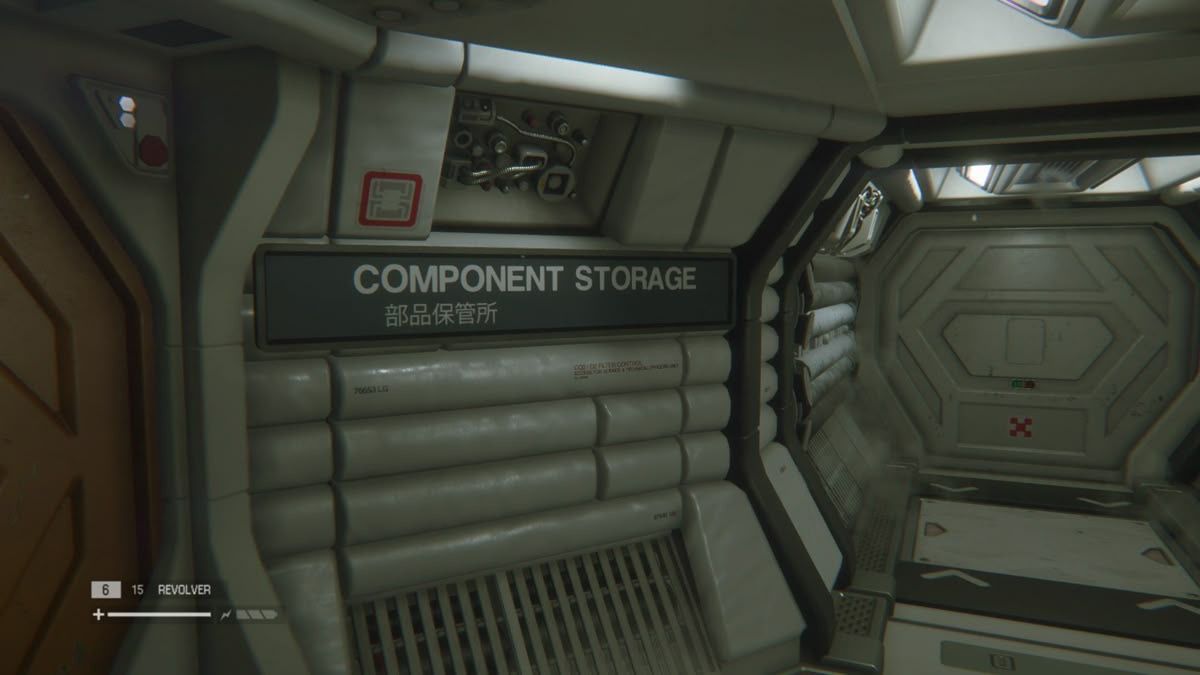
I’ve always been a fan of the retro-futurism design movement, especially how it’s implemented in video games and movies. Retro-futurism is a design style that imagines the future using the technology and aesthetics of the past: chunky buttons, CRT displays, industrial panels, and analogue-style interfaces. One of my favourite examples of this style is the Alien series, particularly Alien: Isolation. With those fantastic cushiony walls, old CRT screens used for your inventory, save stations and radar tool. The artists have perfectly managed to blend that retro-technology look into a sci-fi scene.
Before I get too entranced by the design style I’ll talk about what the actual project is.
One of the most iconic pieces of equipment in the game is the motion tracker, a handheld device used to detect nearby threats. The glowing green radar display, chunky industrial casing, and tactile buttons perfectly capture the retro-technology aesthetic the Alien universe is known for.
For this build I want to recreate a the motion tracker from the game in the pictures below. It’s a handheld prop that looks like it came straight out of a retro-futuristic spaceship console. Using a Raspberry Pi Pico, a radar sensor and a small display, it’ll be able to detect movement nearby and visualize it on a screen, similar to the tracker seen in the game.
My goal isn’t to create a perfect replica, but a functional cosplay prop that captures the aesthetic and feel of the original.
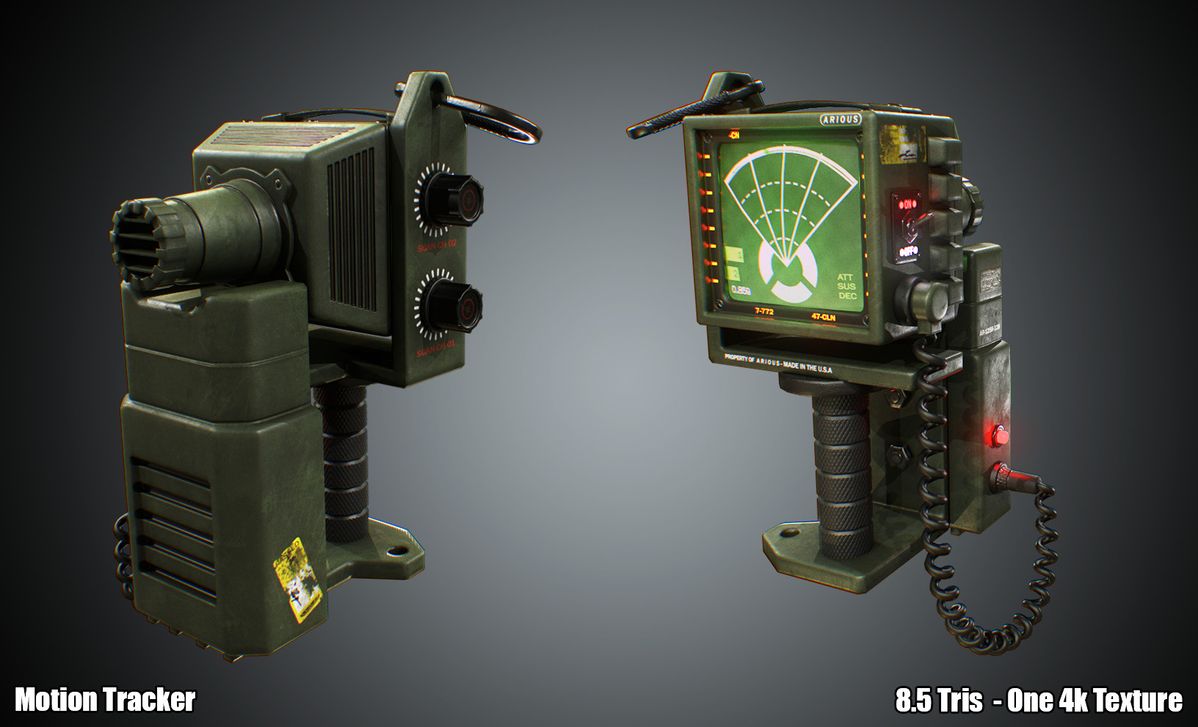
The tracker seen in Alien: Isolation has a distinctive radar screen, folding design, and industrial styling. These visual elements will heavily influence the design of our prop.
Design Goals
In the following section I’ll be explaining the particularities of the projects. A broad description of what I want from this project is for it to be interactive, compact, cosplay friendly and should mimic the actual tool as much as possible.
Project Constraints
Since this prop is intended for cosplay and events, there are a few design goals to keep in mind:
Portable – the device should run on battery power
Durable – it should survive being carried around at conventions
Lightweight – heavy props quickly become uncomfortable
Visually convincing – it doesn’t have to be perfect, but it should look the part
Hardware Exploration
What are the average tools and materials that cosplayers use, and what will we be using to accomplish our project?
- 1.25mm JST cable
- Radar sensor
- Raspberry Pi Pico H
- This will act as the brain of the device, reading sensor data and controlling the display.
- Raspberry Pi Pico Terminal Breakout Board
- Helps keep wiring organized inside the prop.
- UPS Module for Raspberry Pi Pico
- Pico Display Pack 2.0
- 3D Printed Case or using EVA Foam
- The outer shell of the prop will either be 3D printed or constructed using EVA foam, both common materials in cosplay prop building.
The Software
The software running on the Pico is responsible for three main tasks:
Reading motion data from the radar sensor
Processing that information
Displaying the results on the Pico Display
When motion is detected, the screen will update to simulate a radar-style interface. This could include:
Blips appearing on the screen
Distance indicators
Scanning animations
The goal is not to perfectly replicate the original motion tracker, but rather to create something that captures the same feeling and functionality.
What's Next?
Now that we’ve gotten the main planning in place, the next step is going to be building a working prototype from some cardboard. This’ll include connecting the pico to the radar sensor, creating a radar-style graphic UI on the pico display as well as testing the sensors capabilities.
Once the electronics are done and working, we’ll start creating the physical prop shell! Can’t wait.


