
Soldering for Beginners – Your First 30 Minutes
Beginner, PiShop, Platforms, Resources, Skills, Tutorial beginner, getting started, how to, soldering, Tech, tutorial 0
So you bought a headerless Raspberry Pi, a pocket of components and you’ve got a project in mind, but somewhere somebody mentioned soldering between a finished build and the parts list. That word might’ve convinced you to close the tab because it might be the scary bit of the project.
I’m here to convince you that it shouldn’t be. Soldering it a skill that might feel slightly intimidating or above your paygrade as a beginner until the moment that you actually do it, and then you wonder what all the fuss was about. In 30 minutes, you can go from complete beginner to someone who has made their first solid electrical joint. This guide will get you there.
What Is Soldering Actually?
To break it down to it’s basics, soldering is joining two metal surfaces together, usually the leg of a component like an LED and a copper pad on a circuit board. This is done by melting filler metal (Solder) between them. When this molten metal cools down and hardens it creates a permanent electrical connection between then two.
Think of it like glue but conductive. The key is understanding that you aren’t melting the component or the board but the solder inbetween
What You'll Need
It’s not an expensive setup so I’ve listed exactly what you need and what you might need later.
The Essentials:
- A soldering iron (a basic 60W adjustable iron is perfect for beginners)
- Solder (60/40 rosin core solder, 0.8mm diameter is ideal for beginners)
- A soldering iron stand (never rest a hot iron on your desk)
- A damp sponge or brass wire tip cleaner
- Helping hands or a small vice to hold your work
- Learning to Solder Kit
Safety Gear:
- Good ventilation: open a window or use a small fan to blow fumes away from you
- Safety glasses (The classic)
Nice To Have (But Not Necessary):
- Flux pen (makes solder flow more easily)
- Desoldering wick or solder sucker (for fixing mistakes)
- Isopropyl alcohol and a brush (for cleaning flux residue)
Most of these are available at PiShop via the links
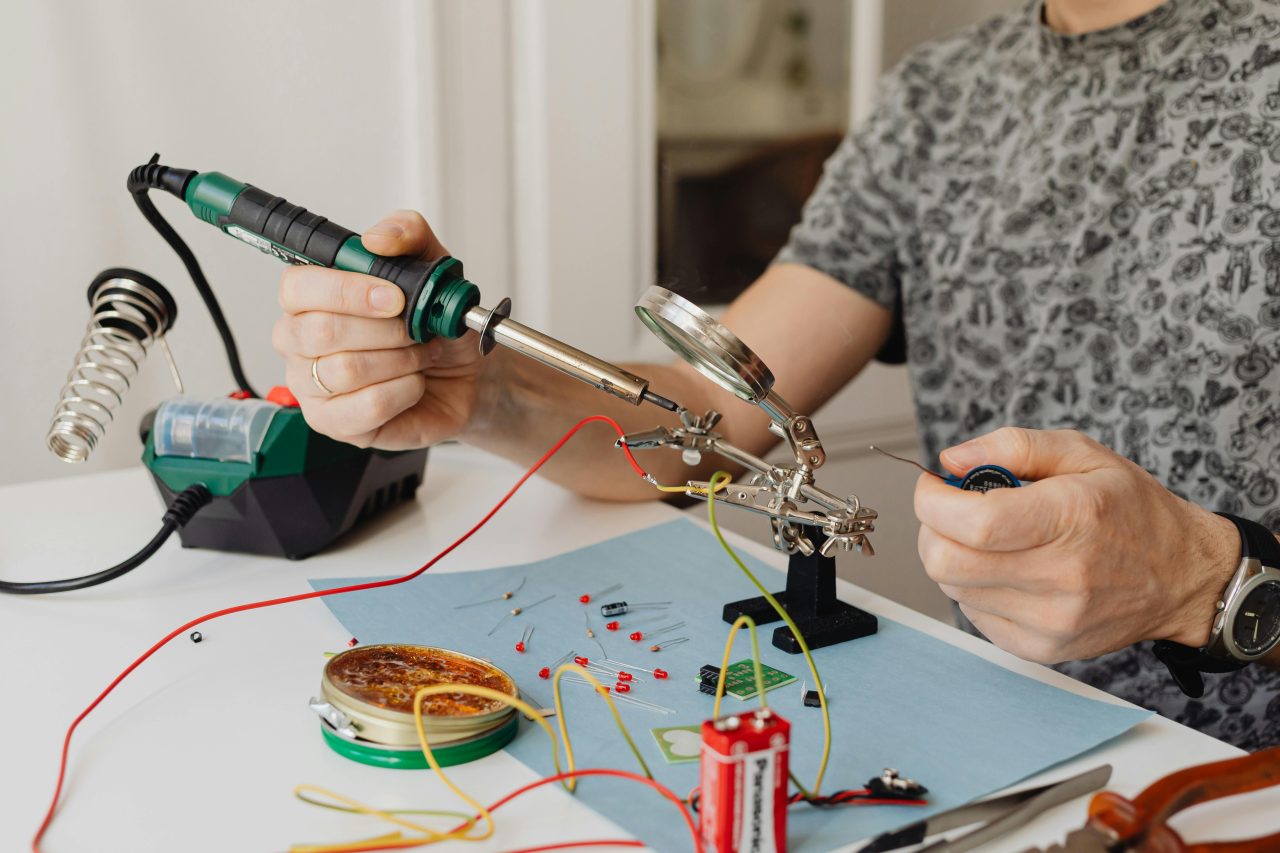
Setting Up Safely
Before even thinking about plugging something in, we need to talk safety. Soldering iron tips use extreme temperatures between 300°C and 400°C. This can cause serious burns instantly and can cause fires if used carelessly such as resting it on top of something flammable.
Golden Rules:
- Always return the iron to its stand when you’re not actively using it
- Never touch the tip. Even if it looks cool, assume it isn’t
- Work in a ventilated space; solder fumes are not good to breathe
- Keep a clear, tidy workspace
- Wash your hands after soldering; older solder contains lead
With that done, you can plug the iron in and set it to around 350°C if it’s an adjustable one. Let it heat up for a couple of minutes before you use it for anything.
Tinning the Tip
The very first thing you do after you’ve warmed the iron up is tinning the tip. This mean that you need to coat the tip with a fresh layer of solder. This’ll help with heat transfer and protects it from oxidation.
Here’s how:
- Once the iron is hot, touch your solder to the tip, it should melt immediately and flow around it
- Wipe the tip gently on your damp sponge or brass cleaner to remove excess
- Apply a little more solder so the tip has a shiny, silver coating
The tip should like bright and shiny, a neglected tip would like dark and crusty.
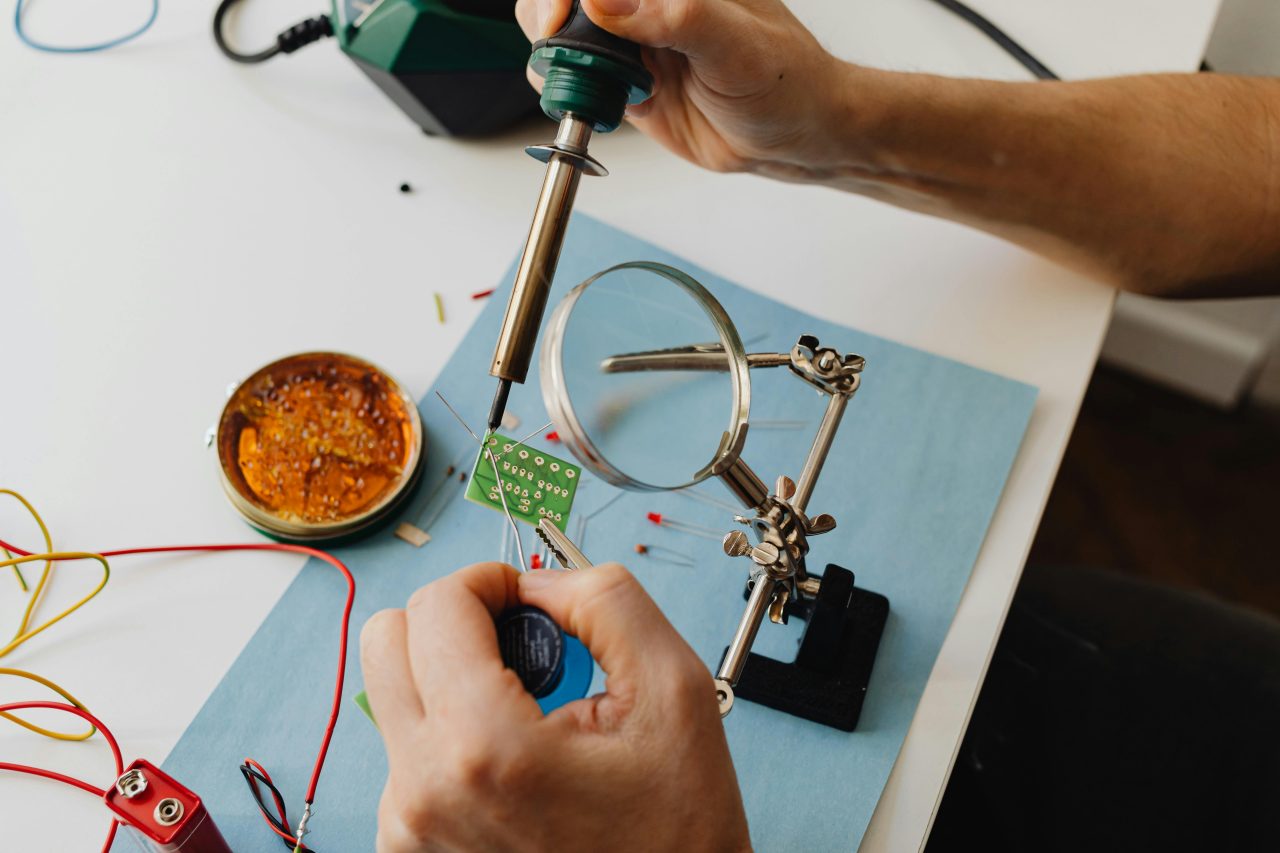
Your First Joint: Step by Step
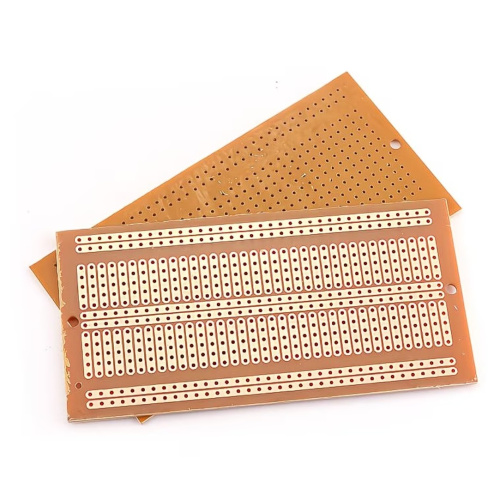
The best way to practice is on a simple through hole components. A resistor or an LED can be perfect for this with a prototyping PCB board. It’s a much more forgiving canvas to work on and it’s where beginner should start.
Step 1 — Push the component legs through the holes and bend them slightly outward on the underside of the board so the component doesn’t fall out while you work. Place the board component-side down so the legs are pointing up at you.
Step 2 — Touch the iron tip to the point where the component leg meets the copper pad simultaneously. Hold it there for about two seconds. You’re heating both surfaces so they’re ready to accept solder.
Step 3 — With the iron still on the joint, touch your solder to the joint, not to the iron tip. The solder should melt and flow around the joint immediately. Feed in just enough to form a small volcano shape around the leg. This typically takes one to two seconds.
Step 4 — Remove the solder first, then the iron. Don’t blow on the joint or move the component — let it cool naturally for five to ten seconds. Moving it while it’s cooling causes a cold joint (more on this below).
Step 5 — A good solder joint is shiny, smooth, and volcano-shaped — it should look like a small tent around the component leg. If it’s dull, grey, or blobby, you’ve got a cold joint.
Some Common Beginner Mistakes
- Less is more. A tiny, neat joint is better than a big blob of solder. Sometimes that blob can bridge gaps to neighboring pads leading to the circuit not working or a very nice popping sound from an LED
- A dirt tip. If the tip of the iron is dark and oxidized it won’t transfer heat evenly over the joints.
- Not ventilated. The smoke rising from solder is flux getting burnt off. It might smell slightly pleasant on occasion but it really isn’t good for you.
Trimming the Joints
Once you’ve let the joints rest and cool down, you can use side cutters to trim the extra piece of the components leg as close to the joint as possible. Don’t wiggle or twist it, you don’t want your first joint to come apart as quickly as it came.
What To Build First
If you’re comfortable enough to move on, here are some good real projects that you could move onto:
- Header pins for a Raspberry Pi (Probably a Pico considering prices)
Or
- A simple LED or sensor circuit on a stripboard
Conclusion
Soldering can be pretty intimidating to get into but that notion dissolves instantly the moment you make your first, clean joint. The Tools are affordable and opens you up to plenty more projects that simply aren’t possible without it.
If you enjoyed this article or if you’ve done soldering before and have some tips to share let us know in the comments!


