
Building a Miniature Fantasy Console with the Raspberry Pi Zero 2W | PICO-8 Dedicated console
Beginner, Other, PiShop, Platforms, Projects, Raspberry Pi, Skills getting started, pico-8, pico8, raspberry pi, raspberry pi zero, Tech 0
Welcome To The World Of "What If"
Welcome to PICO-8, a leading console in the fantasy console industry that has managed to grab the attention of both retro enthusiasts as well as indie developers!
Imagine a console that’s never existed, yet has thousands of games, a tiny resolution, 16-colour palette and harsh memory constraints that was released not in 1984, but in the modern era.
A fantasy console is essentially a virtual game machine. Unlike an emulator that mimics existing hardware and it’s limitations, a fantasy console is an entire platform with it’s own built-in limitations
Meet PICO-8: The Leading "Cozy" Engine
PICO-8 is a popular fantasy console developed by Lexaloffle. It’s got everything you need to both play games and create them:
- Code Editor: Uses Lua, a beginner-friendly programming language
- Sprite & Map Tools: For drawing characters and building worlds
- Sound & Music Synthesizers: For crafting iconic 8-bit chiptunes
- The “Splore” Browser: The Built-in arcade for searching through and launching game cartridges made by the community
What you'll need for this project:
This project is going to be pretty similar to our recent mini-retro console we made with a Raspberry Pi Zero 2W:
- 1 x Raspberry Pi Zero 2W
- 1 x Raspberry Pi Zero 2W USB HAT
- 1 x Raspberry Pi Zero Official Micro USB Power Supply
- 1 x 32-64GB microSD Card
- 1 x Game Controller
- USB Speaker (I used Waveshare 80 Ohm 5W Speakers with a USB Sound Card)
Setup and Installation
File Preparation
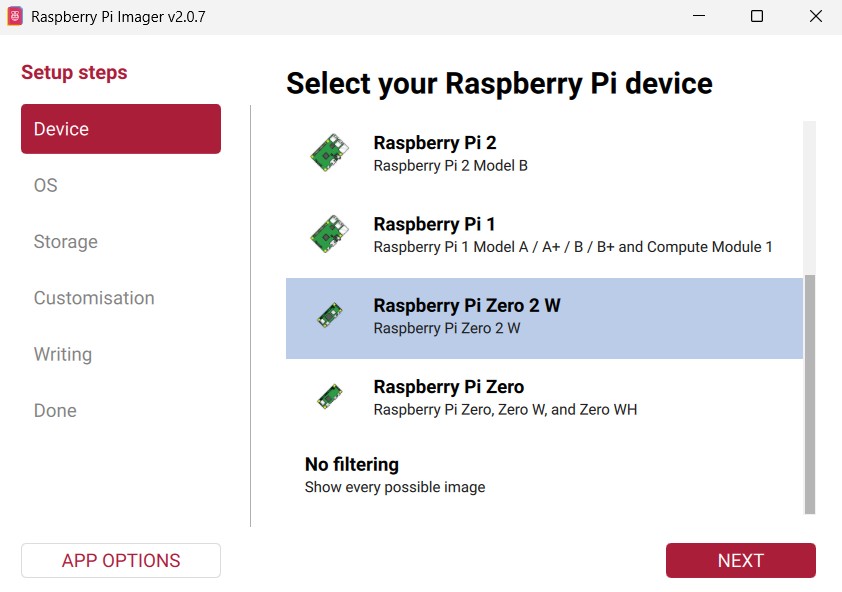
- Using the Raspberry Pi Imager, flash the microSD card with Raspberry Pi OS (64-bit) and plug it into you Raspberry Pi Zero 2W
- Once the Pi has been booted and once you’ve purchased PICO-8, you can either download “pico-8_0.2.7_raspi.zip” or copy it over using a USB. Unzip the file and copy pico-8 over to the home directory (/home/pi/pico-8)
- To tell the pi that the file is an application and is allowed to run open the terminal and run this command:
chmod +x ~/pico-8/pico8_64
System Configuration
This section is for telling the Pi not to load the desktop as this is the secret to getting PICO-8 to run smoothly and quickly.
- Open the configuration tool by using this command in the terminal:
sudo raspi-config Navigate to System Options and select Boot
Select B1 Console Text console
Immediately go back into the previous menu and select Auto Login and then select yes
Select Finish and when it asks you if you’d like to reboot choose No as we still have a few more steps for setup.


The Startup Script
Now to tell the Pi to launch PICO-8 as soon as it logs in.
1. Open the bash config file using: sudo nano ~/.bashrc
2. Scroll to the very bottom and add this specific code block:
# Dedicated PICO-8 Startup

if [ -z "$SSH_CLIENT" ]; then
  clear
  ~/pico-8/pico8_64 -splore

fi
clear: Wipes the “Raspberry Pi” text off the screen for a clean look.-splore: Opens the game explorer so you can use a controller to browse.if [ -z "$SSH_CLIENT" ]: This is the most important part. It ensures PICO-8 only starts on your console screen, not when you try to log in from your laptop to fix things.
3. Press Ctrl + O, then Enter, then Ctrl + X to save and exit.
Final Test & Tips
- Run
sudo reboot. - The Pi should show some text for a few seconds, then flick to a black screen, and then—BOOM—the PICO-8 logo and sound should appear.
- If you need to get back to your Pi you can simply press Alt + F4 to exit PICO-8 and once your back in command prompt you can type
startxand press enter to launch the full Raspberry Pi Desktop
Conclusion
It’s as simple as that! You’ve now transformed a tiny piece of hardware into a dedicated machine for game design and retro play. Personally, seeing the PICO-8 ecosystem running so smoothly on the Zero 2W has me eyeing a cyberdeck build next, after all, when you have an entire development studio in the palm of your hand, all you’re missing is the perfect mechanical keyboard to start creating.
As per usual, if you enjoyed the tutorial or have any questions make sure to leave a comment and share it with somebody that has an interest in indie game dev or the maker hobby!


