
How To Zip Files in Linux
In this how-to, we’ll look at the zip command, a useful utility that enables us to specify lists of files, set a level of data compression and create compressed archives.
Whilst you become accustomed to these commands it’s good to work with example test files and directories and you should take extra care to ensure you are carefully following the instructions.
All the commands in this how-to will work on most Linux machines. We’ve used an Ubuntu 20.04 install but you could run this how-to on a Raspberry Pi. All of the how-to is performed via the Terminal. You can open a terminal window on most Linux machines by pressing ctrl, alt and t.
Creating a Zip Archive in Linux
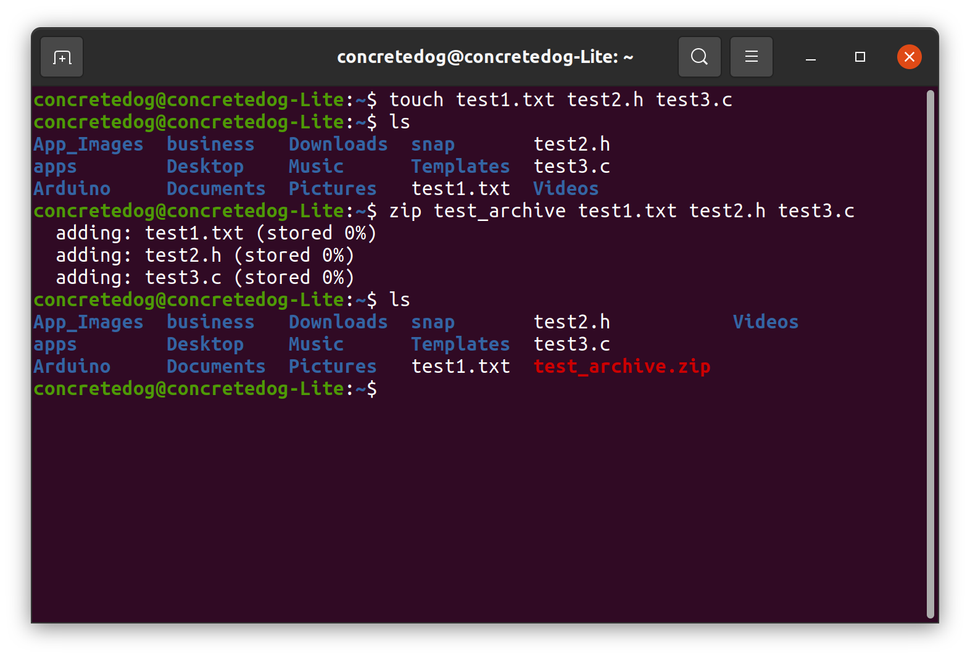
To begin, let’s create some empty test files and then add them to an archive. We’ll use the touch command to create files, the ls command to check that the files have been created and then the zip command to create a basic archive.
1. Create a test directory where we can safely try out the command. Change directory so that you are inside the new directory.
mkdir test_directory
cd test_directory
2. Create some test files to add to our archive. Note the 3 different file suffixes.
touch test1.txt test2.h test3.c
3. List the files to check that they have been created correctly.
ls4. Using the zip command, create a ZIP archive of the newly created files. To create a ZIP archive, we simply use the command zip followed by the name we are giving the archive and then a list of the files we wish to include in the archive. The following command will create a ZIP archive called test_archive.zip and the archive will include the three test files. Note that we don’t need to add the archive suffix .zip to the name of the archive when using the zip command.
zip test_archive test1.txt test2.h test3.c
5. Check that the ZIP archive has been created.
lsRead more: https://www.tomshardware.com/how-to/zip-files-in-linux


