
How to Install and Use Piwigo on Your Raspberry Pi
There are dozens of photo management packages to self-host on the Raspberry Pi, and Piwigo is one of the best, offering a beautiful interface, multi-user management, and beautiful themes. While it’s not quite a slot-in replacement for Google Photos, it allows you take control of your snapshots, and access and display them over the internet.
What Is Piwigo, and Why Should You Self-Host It on Your Raspberry Pi?
Over the past decade, smartphone users became accustomed to unlimited free storage for photos taken on their handsets. They could rest assured that the countless images of beach holidays, family gatherings, and major events would remain safe and secure (albeit with a lower quality than the original) in the hands of tech giants such as Google—free forever.
That assurance was shaken in 2021 with the news that Google was to discontinue its free, unlimited storage option, and potentially delete photos and albums if certain conditions were met. This has left users searching for an alternative that they can run, without restrictions, on their own hardware, and in their own homes.
Piwigo is one such solution. The software is considerably older than Google Photos, having been first released as PhpWebGallery in 2001, and re-released under a GNU General Public License in 2002. The license means that users are free to run, study, share, and modify the software for their own purposes. PhpWebGallery was renamed Piwigo in 2009.
Piwigo offers an easy way for you to upload, manage, and view your photos online, and comes with beautiful theming options, mobile clients, and extensions. Piwigo will happily serve photos over the web on models as far back as the original Raspberry Pi.
How to Install Piwigo on Your Raspberry Pi
The first thing you need to do is to prepare your Raspberry Pi for use as a server. Once the software is installed and working as it should, update and upgrade any installed packages:
sudo apt updatesudo apt upgrade
Piwigo requires a database to function and keep track of your photos, their locations, names, dates, and any modifications you make. Run MariaDB:
sudo mariadb
…and enter the following, one line at a time, to create a new database and database user for Piwigo:
CREATE DATABASE piwigo;CREATE USER piwigo IDENTIFIED BY 'supertopsecretpassword';GRANT USAGE ON *.* TO piwigo@localhost IDENTIFIED BY 'supertopsecretpassword';GRANT ALL privileges ON piwigo.* TO piwigo@localhost;FLUSH PRIVILEGES;quit;
Visit your Registrar’s Advanced DNS page and create a new record of the type A, the host @, and the value as your public IP address. If you plan on using a subdomain, the host should be the desired subdomain on its own, without the rest of the domain name.
Change directory and use nano to create a new Apache conf file for Piwigo:
cd /etc/apache2/sites-available/sudo nano piwigo.conf
In the file, specify port 80; set the ServerName to your domain or subdomain, and DocumentRoot to the directory where you plan to store Piwigo.
<VirtualHost *:80>ServerName your-domain-name.tldDocumentRoot /var/www/piwigo/</VirtualHost>
Save and exit nano with Ctrl + O, then Ctrl + X.
Enable the configuration file, then restart Apache:
sudo a2ensitesudo service apache2 restart
You’ve directed Apache to accept incoming requests to your domain or subdomain, and to serve content from /var/www/piwigo/. This directory doesn’t yet exist; create it and move into the new location with:
sudo mkdir /var/www/piwigo/cd /var/www/piwigo/
Download and rename the Piwigo net installer:
sudo curl https://piwigo.org/download/dlcounter.php?code=netinstall -o install.php
Give ownership of the current directory and its contents to the Apache user:
sudo chown -R www-data:www-data .
Install the Piwigo Photo Server
You are now ready to install the Piwigo photo server. Open a browser and navigate to your-domain-name.tld/install.php.
You will be asked to select a language, and to set a destination for the Piwigo archive. If you plan to access Piwigo through your base domain or subdomain name, delete everything after the /, and leave this field blank.
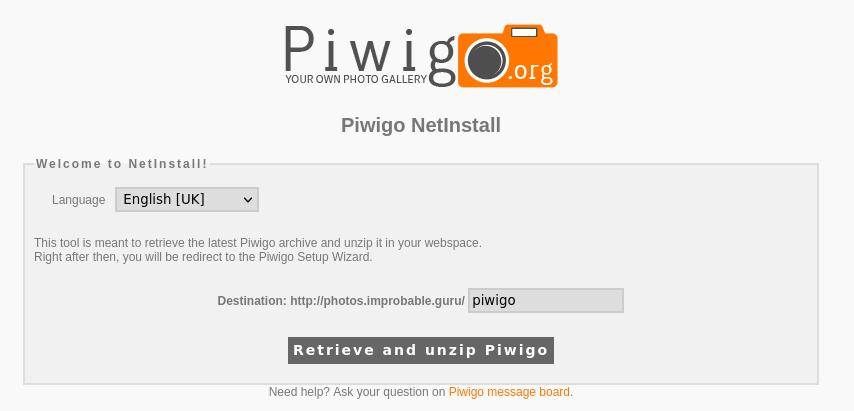
Click Retrieve and unzip Piwigo, and the installer will do exactly what it promised. You can check what was retrieved with:
ls -a /var/www/piwigo/

Return to the browser for an assurance that “Everything went fine. You are now ready to start the installation procedure.” Click the Install Piwigo now button.
On the next screen, fill in the database configuration; the Host and Database tables prefix fields should already be populated, so you only need to fill out the database name and user fields (both piwigo), and your password.

Complete the Administration configuration section to create an admin user, and click Start installation. Almost instantly, you will receive the message, “Congratulations, Piwigo installation is completed”. Easy peasy.
Now the administrator account is set up, you should secure your website with TLS, and upgrade connections from HTTP to HTTPS.
sudo certbot
Enter your email address when requested, and select your domain or subdomain from a list. Certbot will fetch security certificates and keys from Let’s Encrypt, and deploy them on your Raspberry Pi.
Using Piwigo on Your Raspberry Pi
You can now visit your Piwigo library by visiting your domain or subdomain, but as you have no photos uploaded you will be told that “your Piwigo photo gallery is empty”.

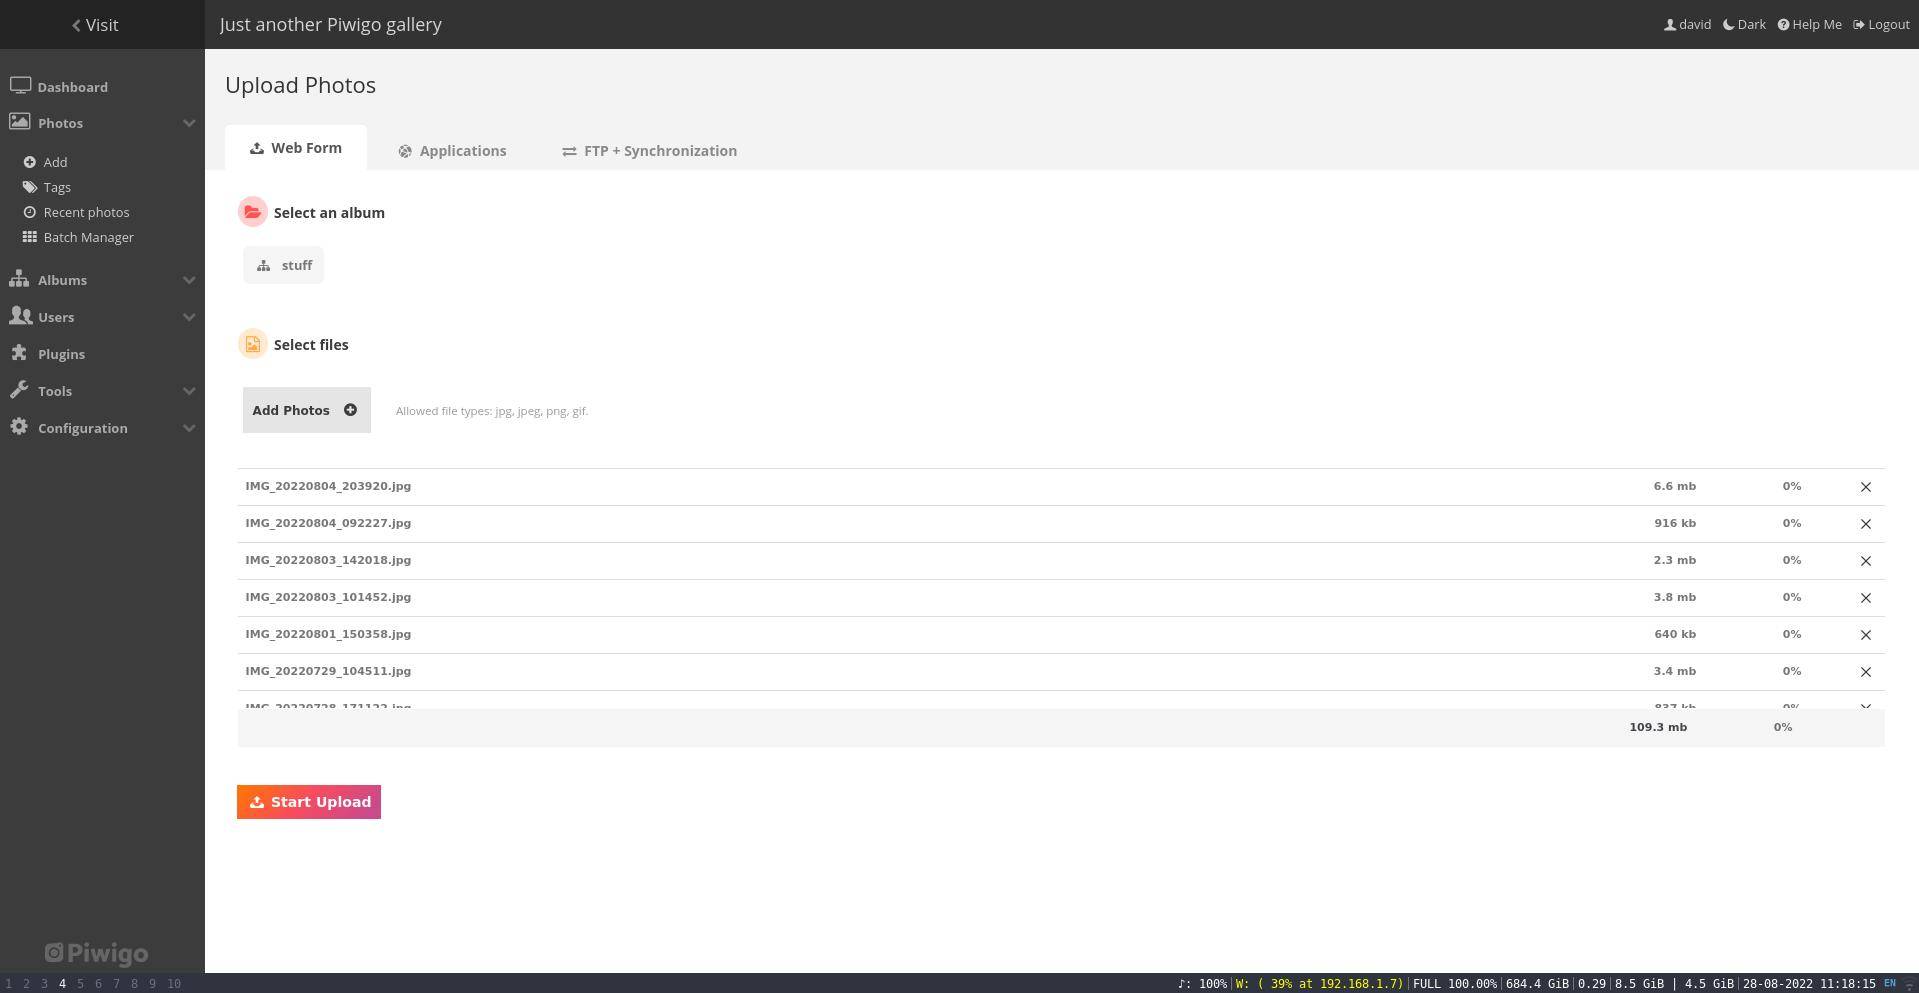
The developers helpfully provide a large I want to add photos button, which flashes orange when you mouse over it. Click on this and then Create a new album. From within the album, you can either click the Add photos button, or drag your files into the browser. Start upload will, predictably, start the upload. Depending on the quality and number of photos you want to upload, this may take a long time.
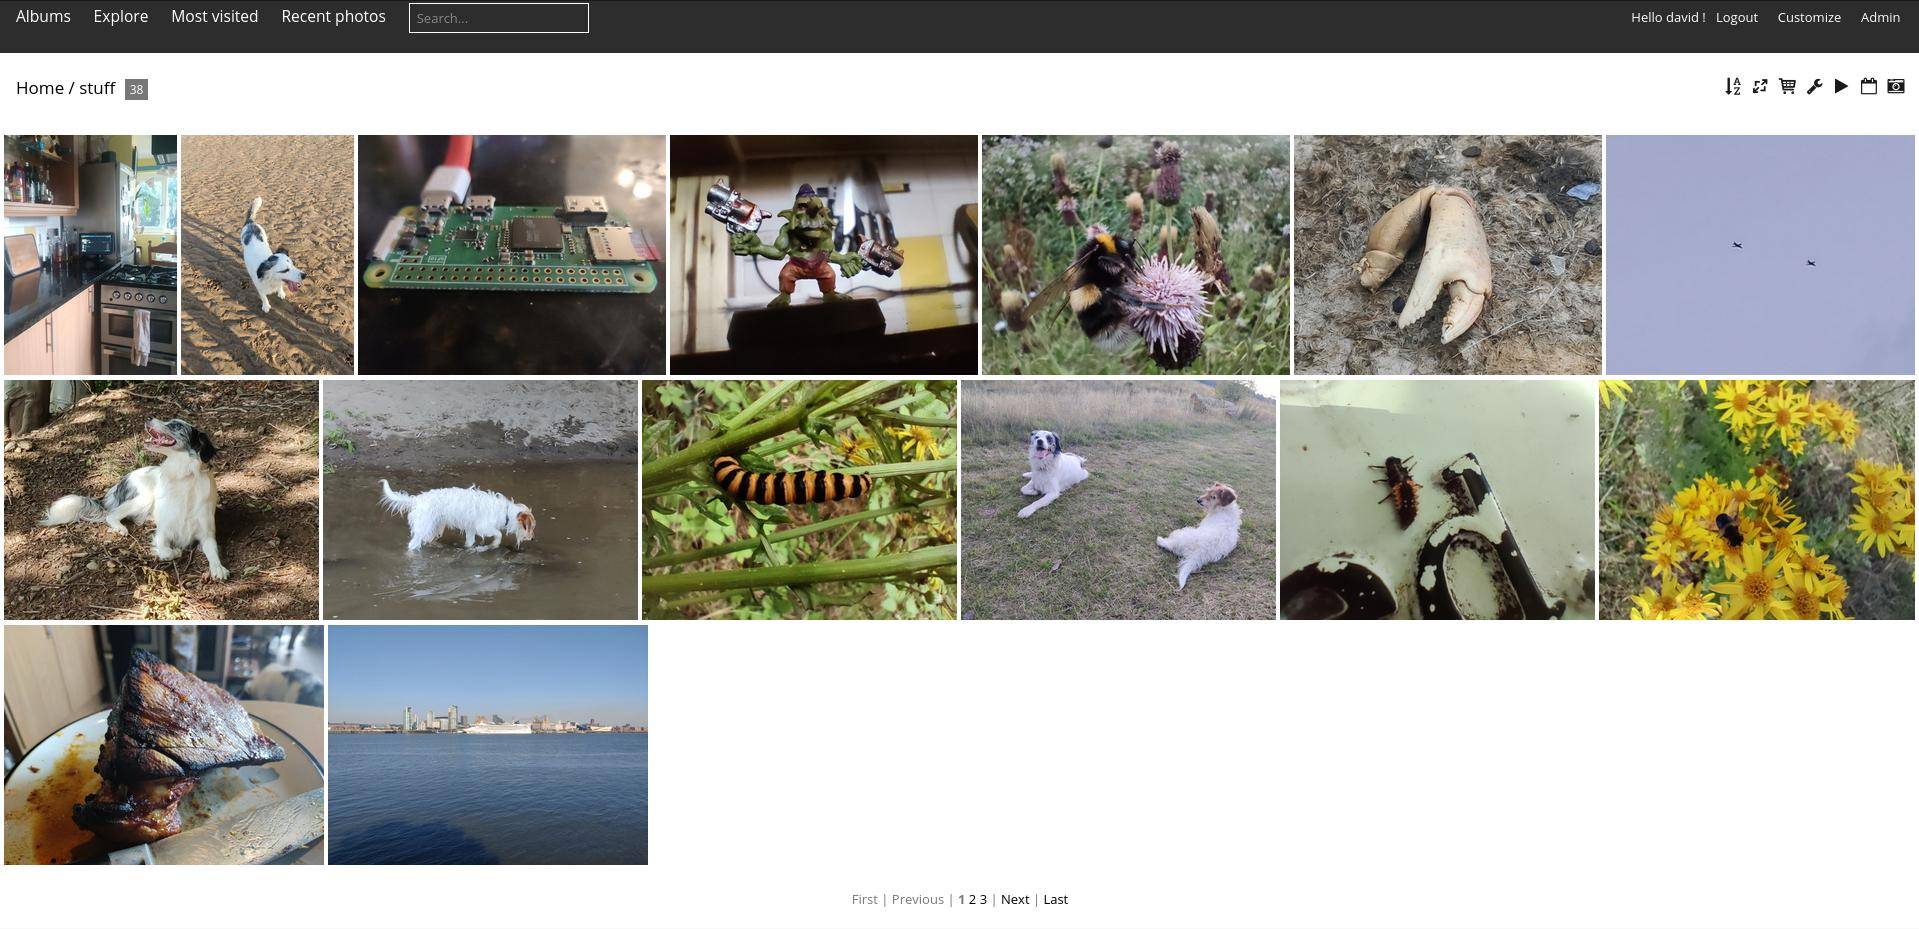
Photos are paginated within albums, and you can access albums through the main page of your Piwigo installation.
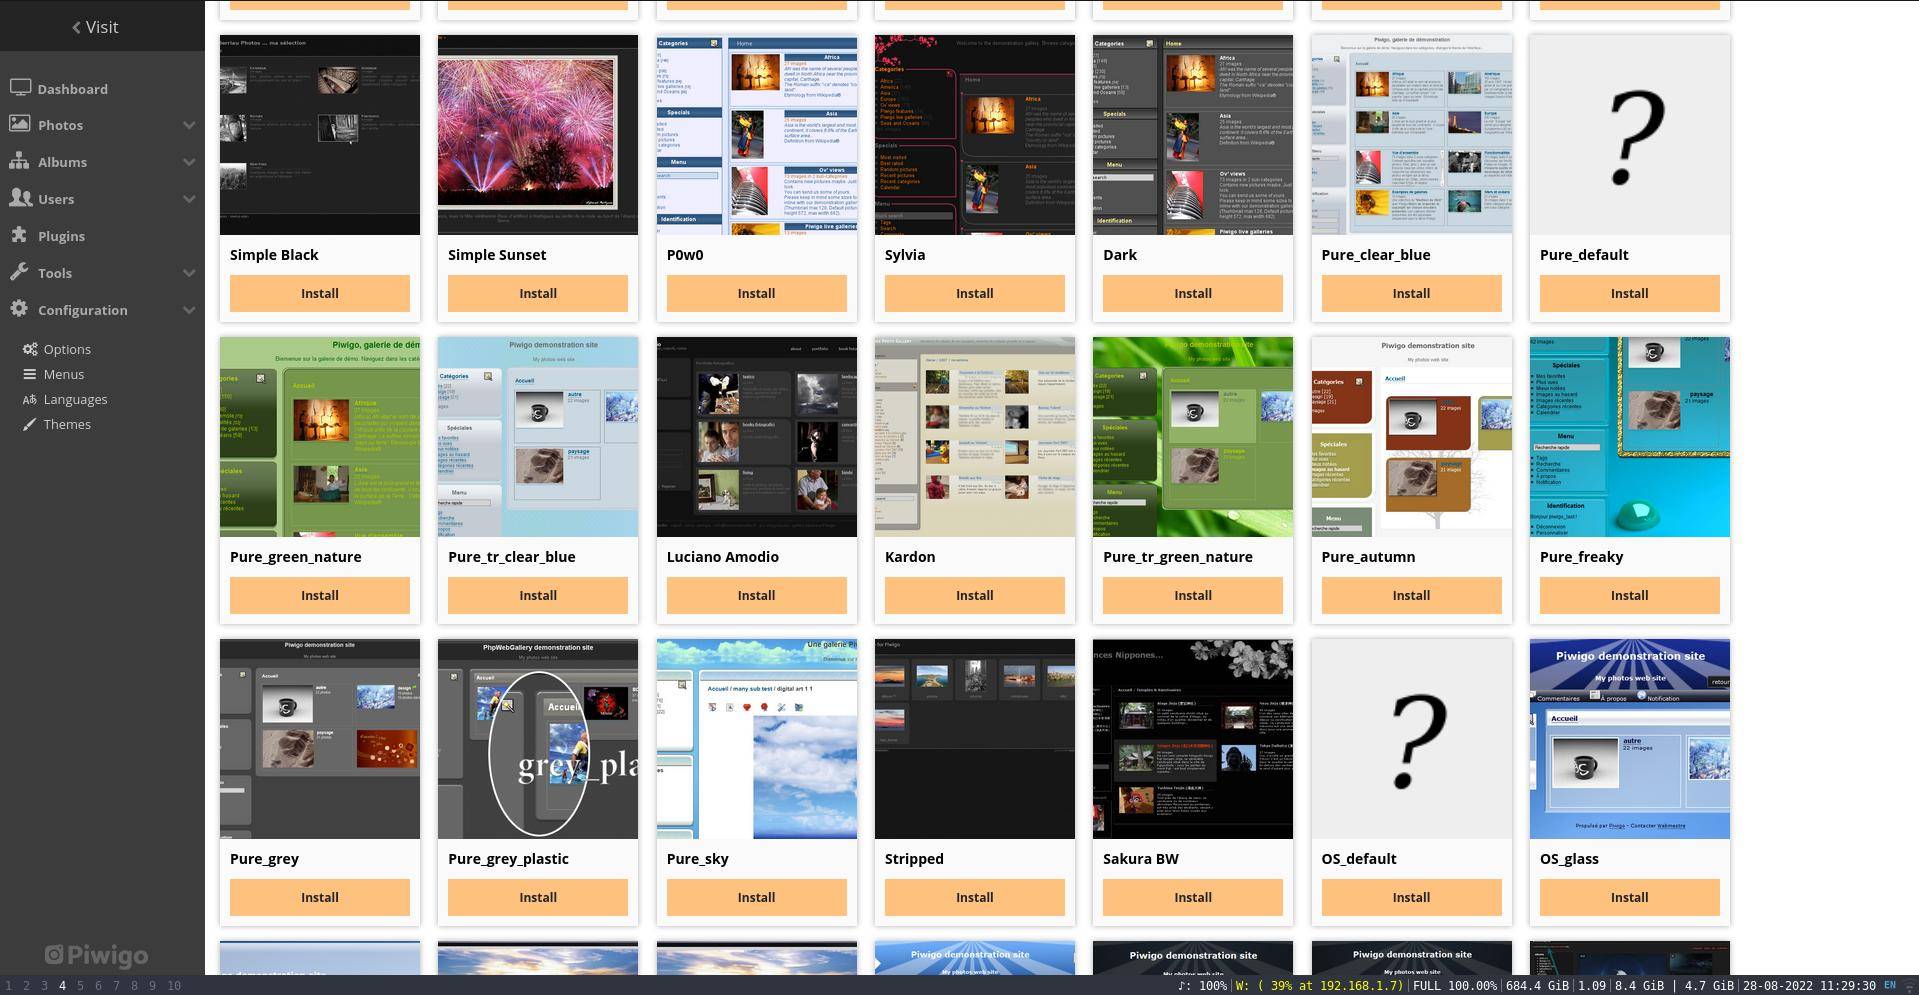
Piwigo has a great many configuration options, including the option to add and manage multiple users. Set default photo sizes, watermark images with your own stamp, and enable comments. These settings can be accessed by clicking Admin > Configuration. Another nice touch is the Piwigo theme gallery. With which you can completely change the look and feel of your albums.
Read More: How to Install and Use Piwigo on Your Raspberry Pi – MakeUseOf


