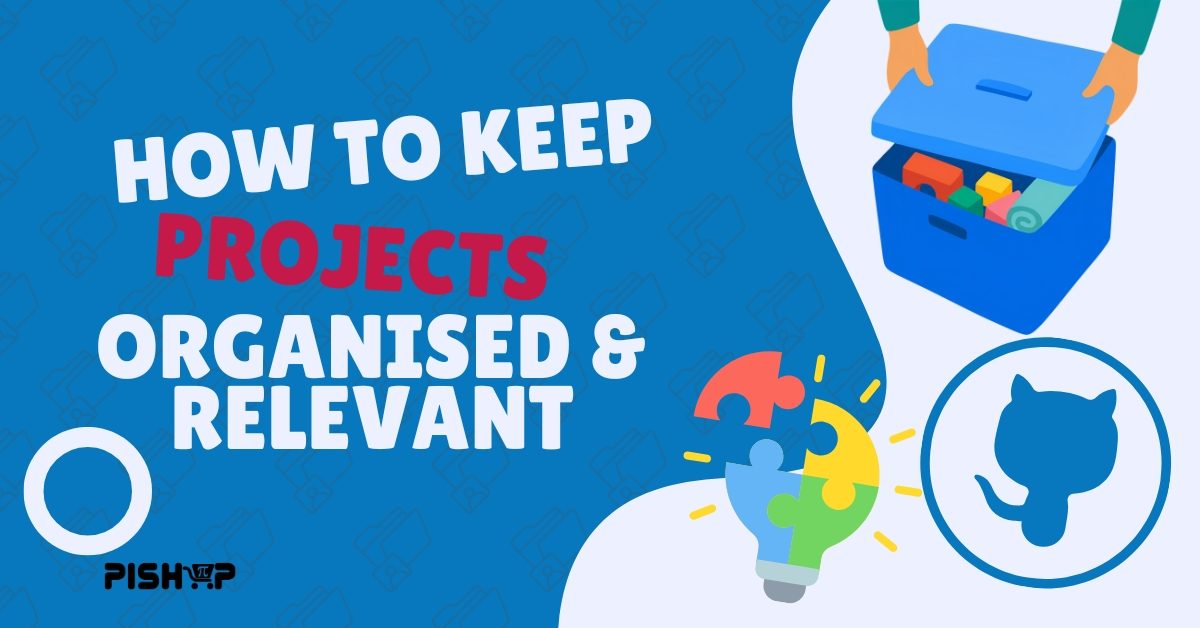
From Breadboard to Built: How to Keep Your Hardware Projects Organised & Relevant
Beginner, Other, PiShop, Projects, Resources, Skills, Troubleshooting, Tutorial beginner, Tech, tips, tips and tricks, tutorial 0
As I’m sure our readers know, I do most of the projects that we show on the blog and recently I’ve been having an issue. We have all be there, we get a new Raspberry Pi, boot up a tutorial, flash a few LEDs. Then 6 months later that very board is sitting collecting dust in a shoebox covered in a jumble of cables, half written scripts and a sensor that we don’t really remember.
This “Shoebox” effect is the universal tax of being a maker. Inspiration hits, components collected, prototype done, and then sadly scope creep sets in or we simply lose sight of what the project was supposed to be.
Building projects isn’t just about knowing the hardware and software, It’s about project discipline. Here’s a framework that tends to help me keep my projects organised, focused, and relevant to my daily life.
Part 1: Physical & Digital Organization
Just to be clear, we’re not looking to create a picture-perfect workspace that you’d find on a Pinterest board or anything. We’re here to reduce between sitting down for free time and jumping straight into making.
1. Physical Workspace & Components Staging
- One Box Per Project: Useable whatever’s available, preferably stackable crates, I keep dedicated boxes for projects to keep them separate.
- Drop the Loose Cables: Loose jumper wires are my biggest pet peeve. Sensors don’t stay in place and oh my days if the jumper disconnects from a GPIO pin. Break the project down onto a breadboard, prototype HAT or a PCB to keep things organised and compact.
- Investing in Modular Housing: Use a 3D printer for modular cases or invest in some enclosures. This turns your project from a fragile bench test into a deployable device.
2. Digital Housekeeping
A DIY Racing Sim Rig using components from Raspberry Pi and Arduino with sensors such as the Adafruit As5600
We really recommend using a repo for these tips.
- Pinout Notes: Never try to remember your hardware wiring. Save yourself the trouble and create a pinout on your repo or note taking app. Noting down every GPIO pin, sensor interface, and power draw save so much of your time later on.
- Version Control: Just back everything up, I know It’s tempting to try out that new library but having something to fall back on to can save hours of work. All it takes is a simple “git commit”
- Before tearing down: Snap a quick photo before you break down a breadboard, can’t tell you how many times this has saved me before.
Part 2: Keep Things Relevant
Projects stay alive when they serve a clear purpose. Yeah I get it, tutorials can make a project look pretty sick, but a project only finishes when it solves a practical problem.
- Define your MVP (Minimum Viable Product): Example. Reading temperature Data and print it onto a terminal.
- Once that feature works reliably, then you look at new features. Break down the journey into smaller milestones.
Part 3: Document, Finish, & Share
A project isn’t really finished until you can set it free. Actively babysitting it is not part of the scope.
- Use “systemd” or “cron” to ensure that scripts launch automatically on boot if you’re wanting to run a headless setup.
- Create a README for the future you. Setup instructions assuming you will read them 2 years from now can save you a lot of frustration and regret.
- Ecosystem: Post build photos, GitHub repos, and lessons that you learnt in the process with local maker groups or tag PiShop on your Socials. Seeking comments and criticism can only better the project!
Conclusion
A massive laboratory or degree isn’t a must have to build high-impact hardware. By focusing on the small and solving real-world problems right in our backyards, you’ll turn unused parts into a fantastic line of deployed, and functional projects.
What projects are currently taking over your workspace? Let me know in the comments below or share your setup on socials!