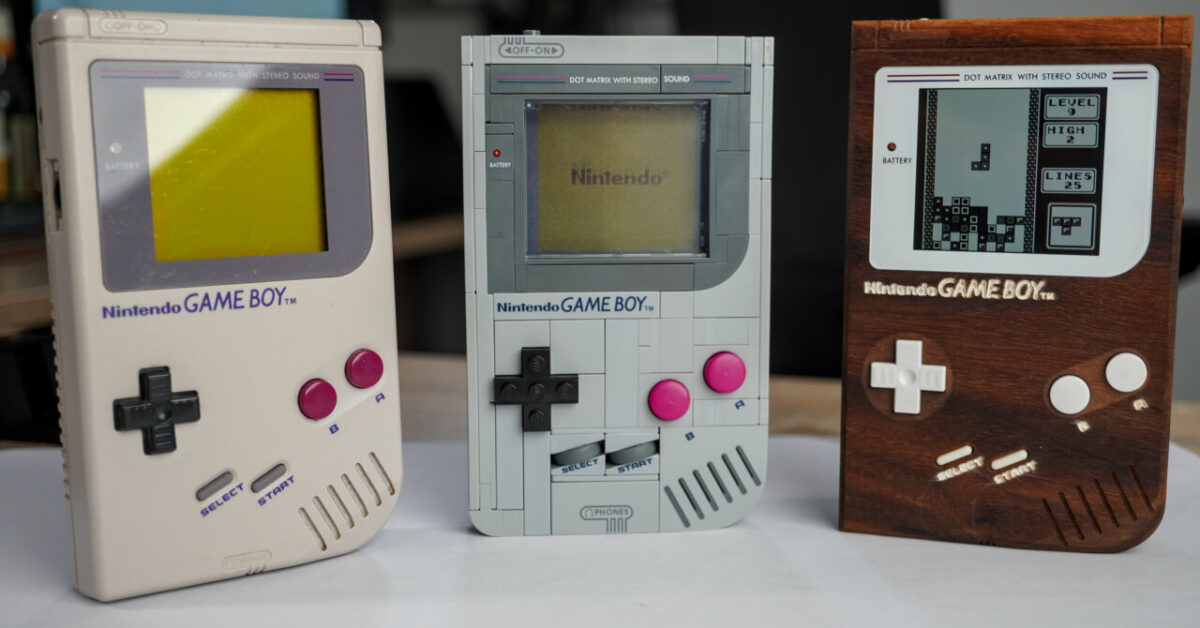
The Ultimate Nostalgia Build: A LEGO Game Boy Powered by Raspberry Pi
Follow Sebastian Staacks in retrofitting a Raspberry Pi and display into the Official Lego Gameboy set. He wasn’t satisfied with the lack of a real screen. This article details a brilliant DIY hack to upgrade the LEGO set by installing a modern backlit display! Using a small microcontroller and a simple 3D-printed adapter (or even just cardboard), Sebastian shows how to bring the model to life and run an actual game emulator on it.
This project is not just a clever aesthetic upgrade; it’s a fully functional piece of tech running an emulator with real Game Boy games. The article walks you through the parts needed, the assembly process (including the simple soldering), and how to compile and flash the game to the microcontroller. Ready to turn your LEGO Game Boy from a great model into an amazing, working retro console? Click here for the full instructions!
What you need that we have:
Originally published on there.oughta.be/ by Sebastian Staacks on 02/10/2025
Disclaimer: The content in this post includes excerpts from other blogs and websites. Full credit for the original work goes to the respective authors and publications. This content is shared here for informational purposes only, to give our customers direct insight on where to purchase the mentioned items, and all rights remain with the original creators.


