
How to setup a smart home | Home Assistant 2025 | PiShop
Have you ever wondered how many smart devices the average connected home will have by 2026? Experts predict it could be as high as 20 devices per household, from smart lighting to intelligent thermostats. If you’re a maker, hobbyist, or simply someone looking to embrace the future of smart living, then you’re in the right place. This article will guide you through the exciting world of smart home automation using the powerful and open-source Home Assistant platform on your very own Raspberry Pi. By the end of this guide, you’ll have a fully functional smart home hub, giving you unparalleled control, privacy, and convenience over your living space in 2025 and beyond.
At its core, Home Assistant is a powerful open-source home automation platform that prioritizes local control and privacy. When paired with a Raspberry Pi, it transforms it into the brain of your smart home and should liberate you from reliance on any proprietary cloud services, putting you in complete control of your data and ensuring your smart devices continue to function even if your internet goes down. Unlike commercial hubs with limited compatibility, Home Assistant boasts over 3,000 integrations, allowing you to unify devices from virtually any brand, from smart lights and thermostats to security cameras and media players. Real-world applications are vast: imagine your lights automatically dimming when you start a movie, your sprinklers adjusting based on local weather forecasts, or receiving a notification on your phone if a window is left open when you leave home. This combination offers unparalleled customization, security, and a truly responsive living environment.
What you’ll need:
- Raspberry Pi 5 8GB or Raspberry Pi 5 8GB Kit
- Raspberry Pi 5 Power Supply
- HDMI to Micro-HDMI Cable
- 32GB SD Card or 32GB Pre-loaded SD Card
- Ethernet Connection
Assembly and Setup Instructions:
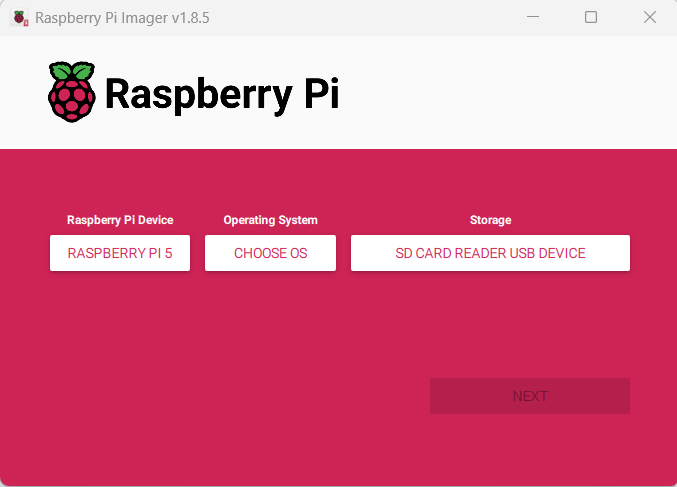
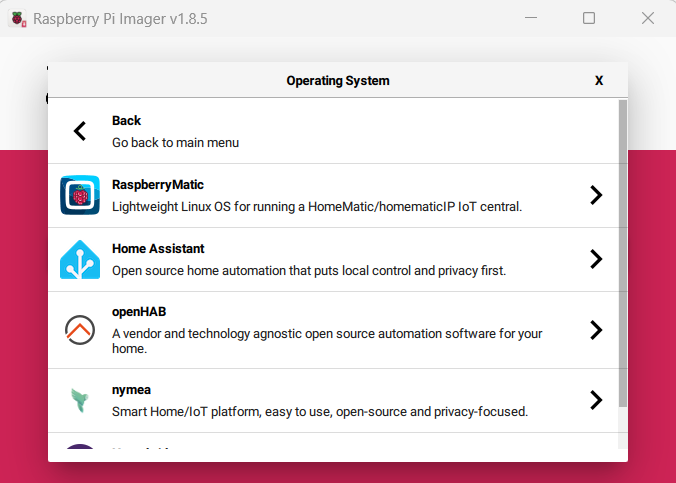
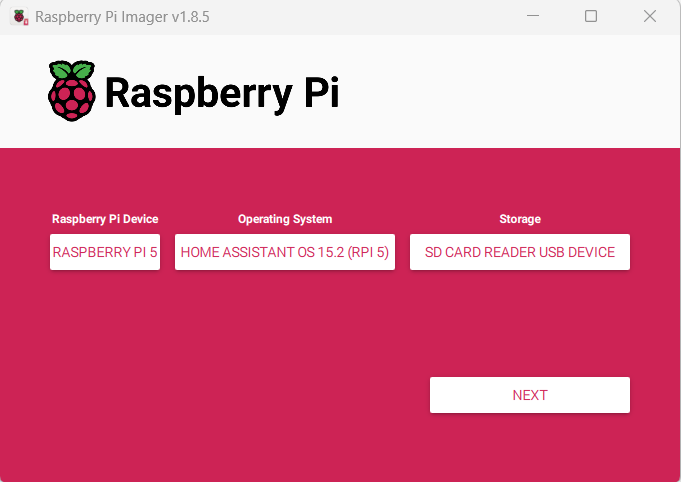
1. Write the Home Assistant image to the SD Card using the Raspberry Pi Imager. You can find the Home Assistant under Other specific-purpose OS > Home Assistants and home automation > Home Assistant > Home Assistant OS (RPi 5)
2. Power up your Raspberry Pi 5, leave it for about 5 minutes, and on your local computer in your preferred browser type in “http://homeassistant.local:8123” or use the IP Address of the Raspberry Pi that you can find using your router’s web interface and type “http://x.x.x.x:8123”
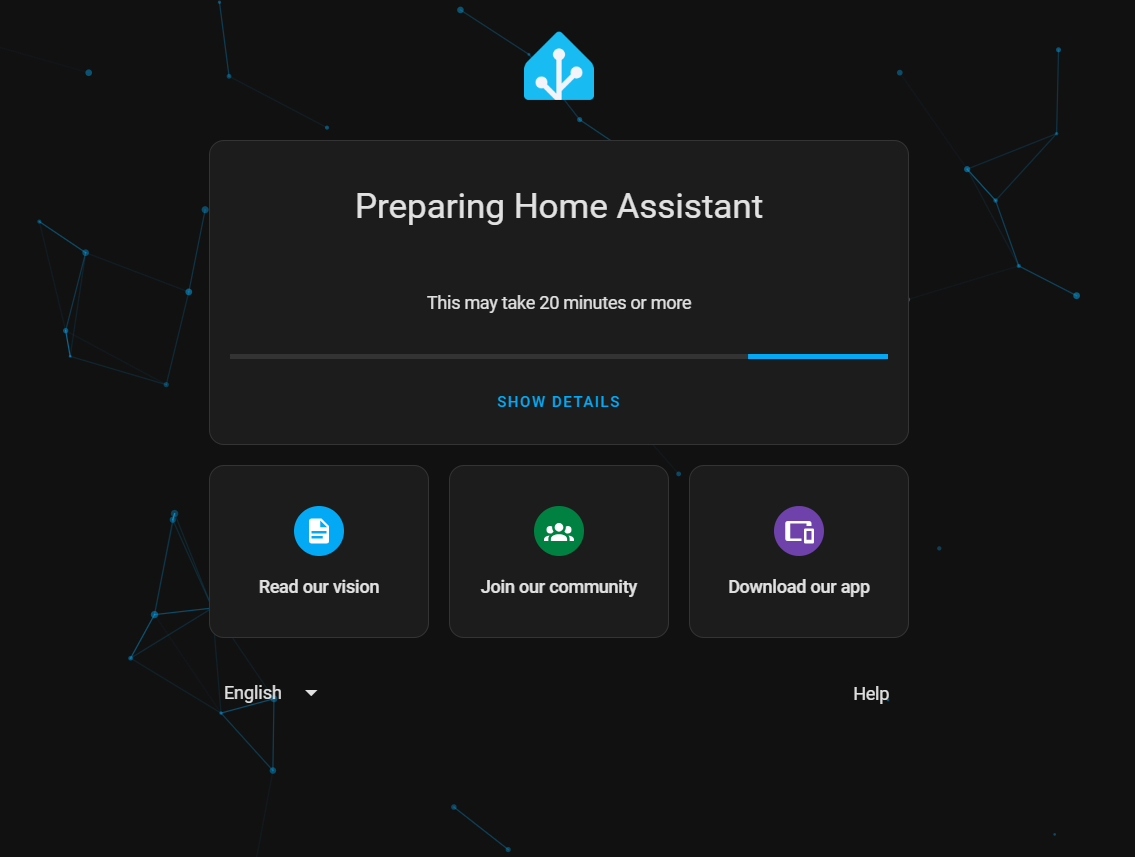
3. Once the page is loaded, you’ll see a bar a page with the heading Preparing Home Assistant, if so give it some time to finish setup. You can use this page to setup a new Home Assistant or upload a backup.
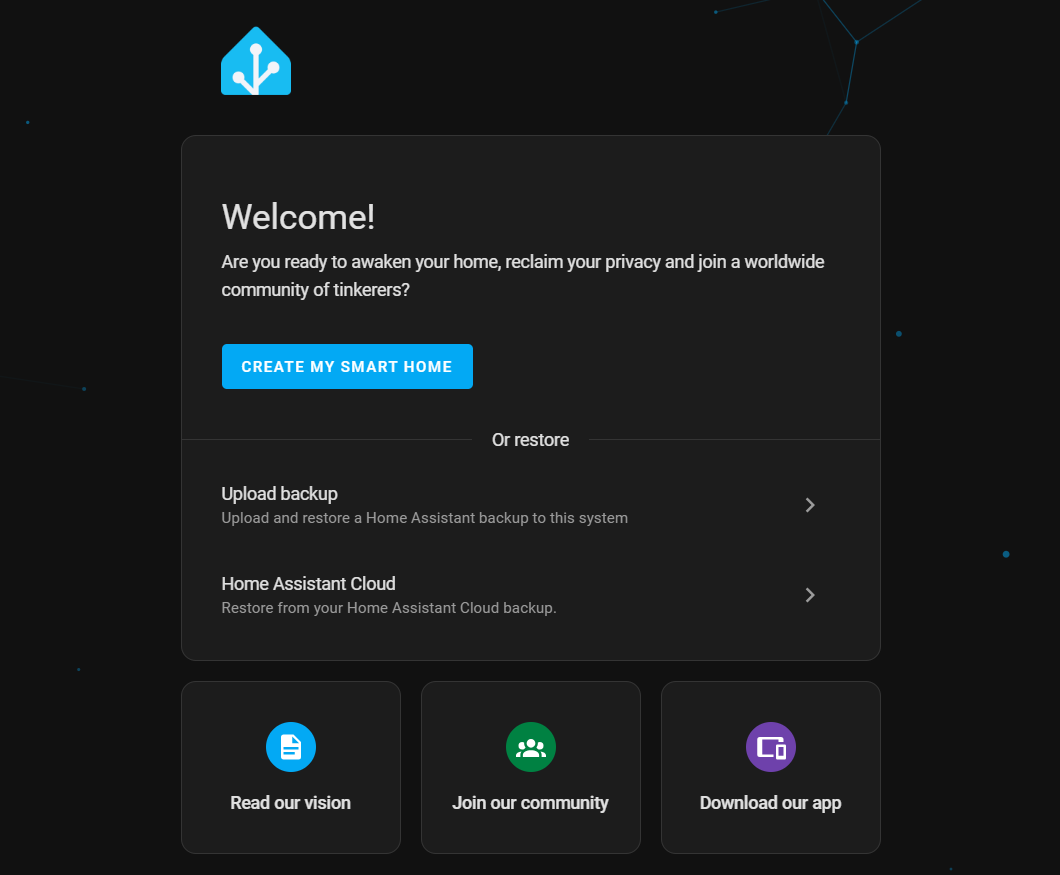
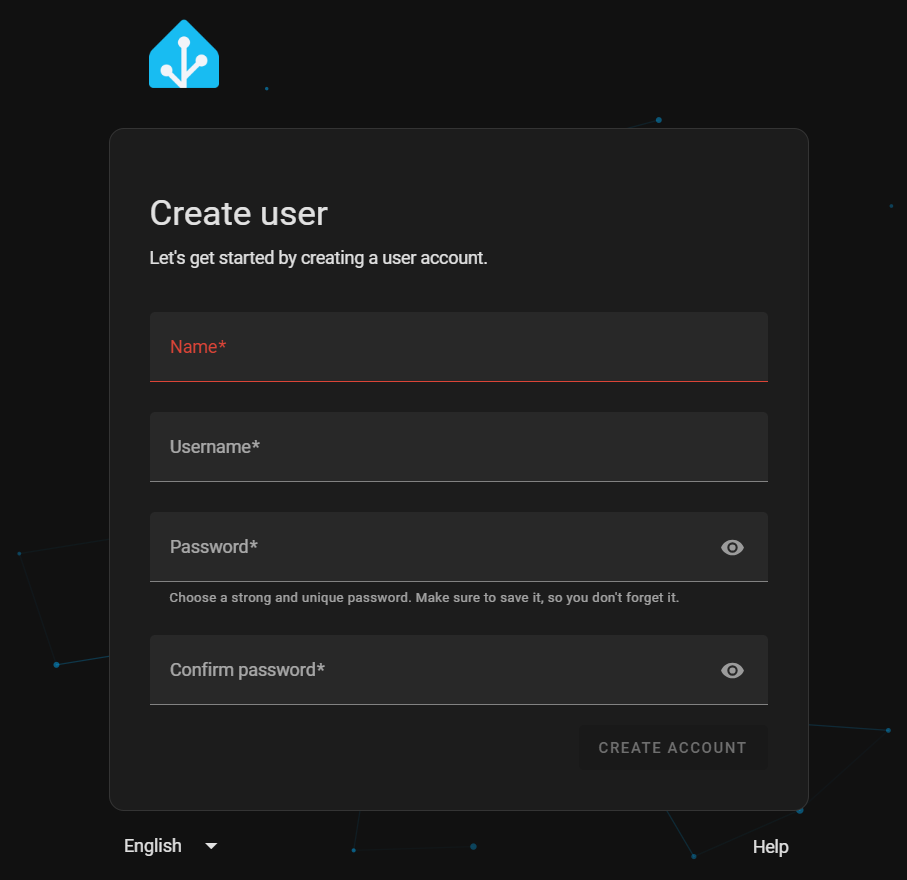
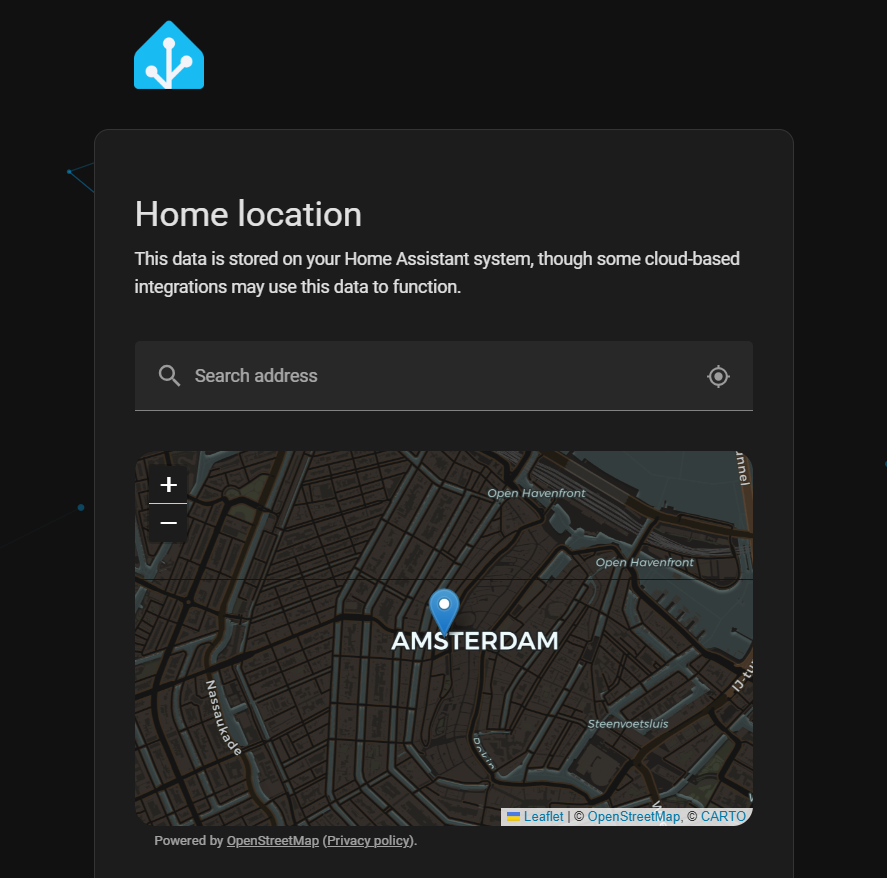
4. After clicking on “Create My Smart Home”, you will be presented with a registration screen. Make sure to save your credentials; it will be a struggle to get those back if you forget them. Once finished with that, a map will be shown, use it to find your location. This map is used for settings like time zones, currencies, units of measurement, and for zoning your home.
5. After typing in your address, a screen about information sharing will be next, you can choose what you’d like to share and what you’d like to keep private. After making these choices then… Congrats! You’ve finished your Home Assistant setup.
Conclusion
In summary, we’ve explored how combining a Raspberry Pi with Home Assistant empowers you to create a robust, private, and highly customizable smart home. You’ve learned how this open-source platform liberates you from cloud dependence, offering unparalleled control and integration with thousands of devices. Now it’s your turn to take the reins of your smart home journey! Head over to PiShop.co.za to grab your Raspberry Pi and all the accessories you’ll need to get started. Share your smart home triumphs and innovative automations in the comments below – we’d love to see what you create!


