How to connect Tapo to Home Assistant
Smart homes has always felt like a futuristic concept but has recently become an integral part of modern living. The industries foundations were laid in the 1990s and has had significant growth every since, becoming somewhat affordable in the early 2000s as the technology became more available for the average household. That shift between luxury technology and mainstream use is where we are with brands like Tapo, Tuya, Philips Hue, Aqara, Govee, and Google. However to get the full power of this tech, users will usually have to jump through circles of apps per brand, which is why I’m here!
In this article I’ll be showing you how to connect these brands under one Smart hub for your convenience (as it should be) using Home Assistant. Home Assistant is an open-source platform with massive functionality enabling it to work as a smart eco-system in the workplace or home.
Why integrate Tapo with Home Assistant
- Centralized Control: Manage all smart devices from one interface.
- Enhanced Automation: Create complex routines using Tapo devices with other brands.
- Data Privacy: Keep your smart home data local.
- Advanced Features: Unlock functionalities not available in the native Tapo app.
What you need:
- A running Home Assistant (How to setup Home Assistant)
- Any Tapo product:
- A Smartphone with the Tapo App Installed
Connecting a Device to the Tapo App
Here’s some short instructions about adding a device to the Tapo App.
1. Tap the Plus icon in the top right of the app and then Add Device.
2. Choose the type of product you’ll be connecting, mine is a Light.
3. Choose the specific product you have then follow the on-screen instructions for the final steps.
Tapo Integration Setup
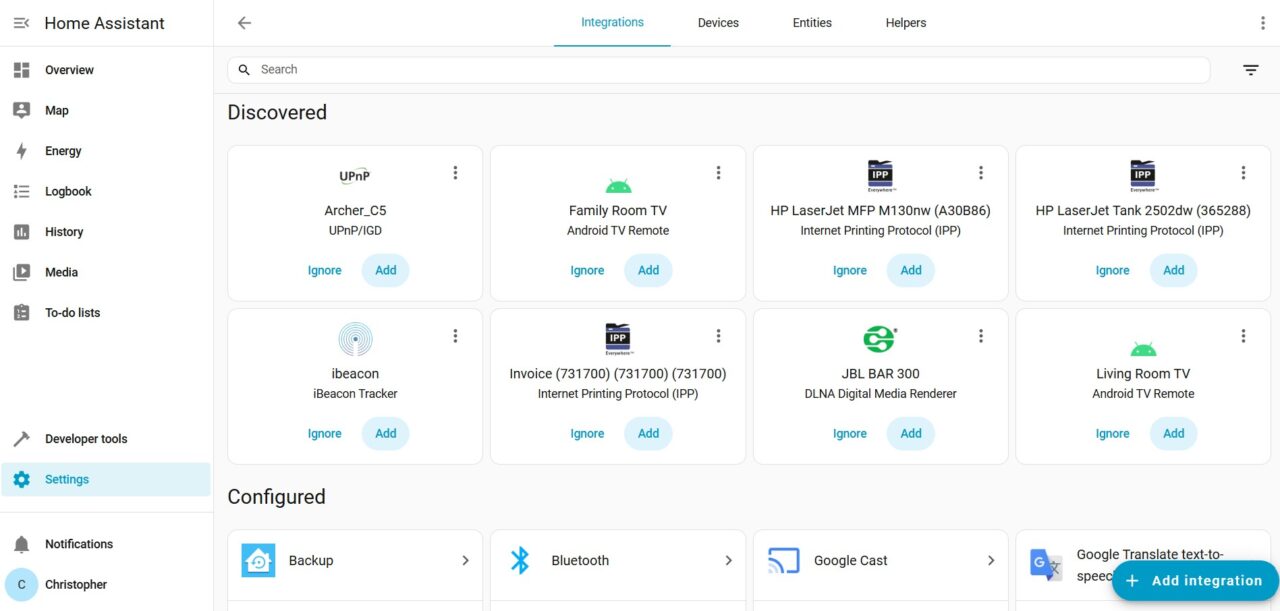
1. Click on settings > Devices and Integrations > + Add Integration

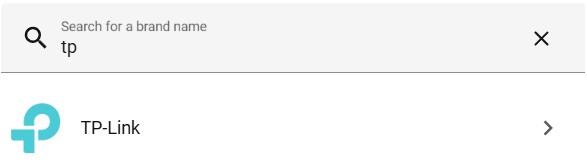
2. Search for TP-Link in the search bar and click on it. Then choose Tapo

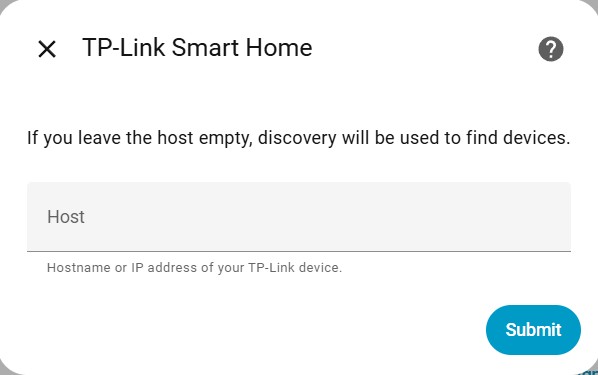
3. To search for all your Tapo products, just click on Submit in the hostname window and a list of devices will appear. Click on the one you’d like to begin with.
4. You’ll have to login in using your Tapo account to authenticate in the next window.

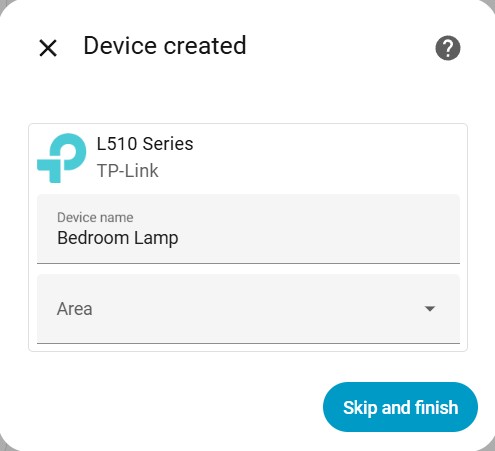
5. You’ll be prompted to choose a device name, and the room the device is in.
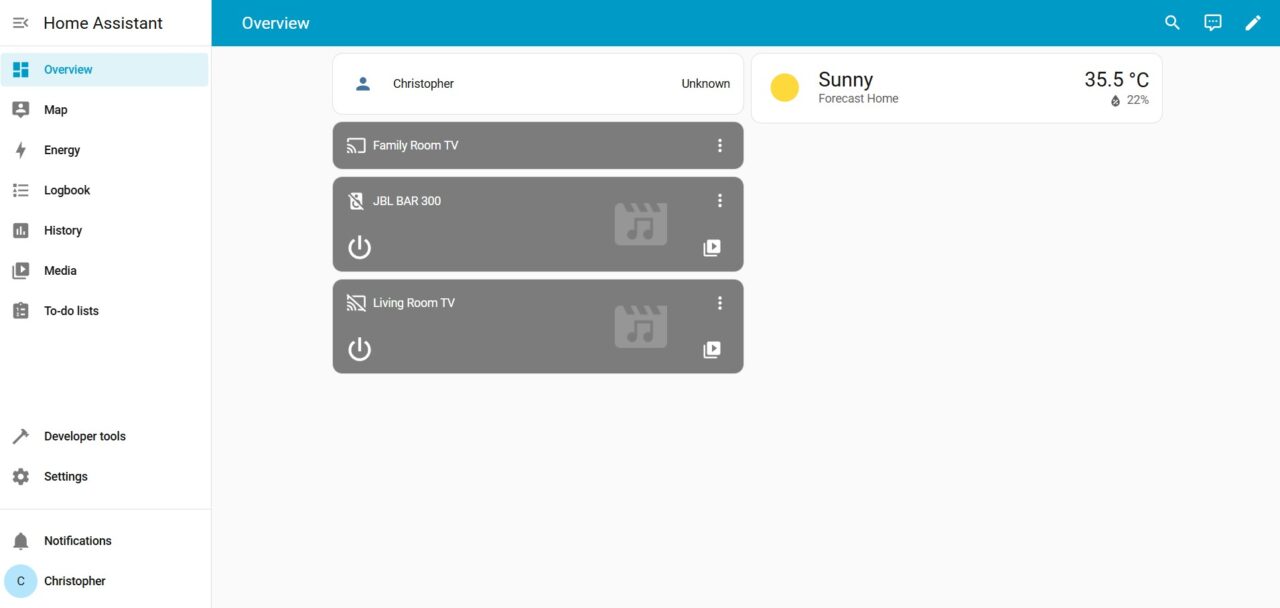
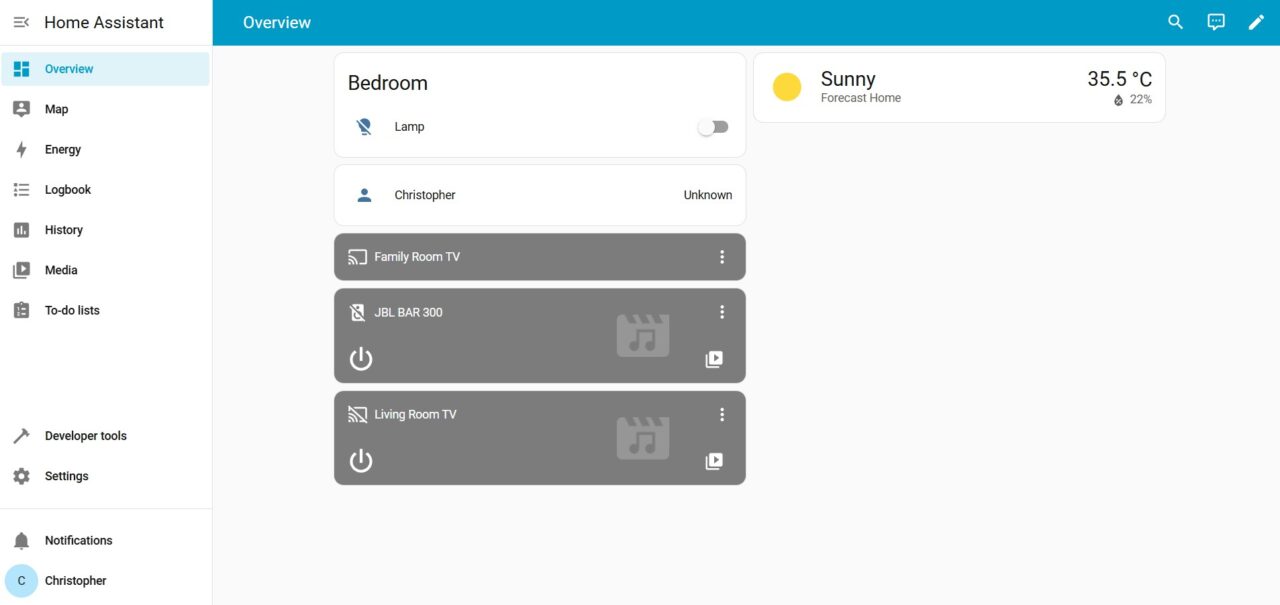
6. Move to your Overview page and you’ll now find it in your dashboard!
Troubleshooting
- Device Not Found:
- Check network connectivity.
- Verify credentials.
- Restart Home Assistant.
- Reset Tapo product
- Device Unresponsive:
- Check device power.
- Ensure local communication is not blocked by firewalls.
- (For local) Verify IP address is correct and static.
- Camera Stream Issues:
- Check RTSP settings in Tapo app.
- Verify network bandwidth.
Conclusion
Using the above instructions you’ll be able to centralize your Smart furniture and devices ultimately making your smart home just a little more comfortable as it should be. If you’ve followed these instructions or already figured out how to do it yourself make sure to share any cool automations you’ve made on socials using #pishopsa so that we can have a look at them!
If you found these instructions useful, we’ve got plenty more content on our blog and socials, don’t forget to have a look for anything else that might interest you.