Add I2C to your LCDs
Intermediate, News, News & Feeds, Resources, Skills, Tutorial dispay, i2c, raspberry pi, Tech 0
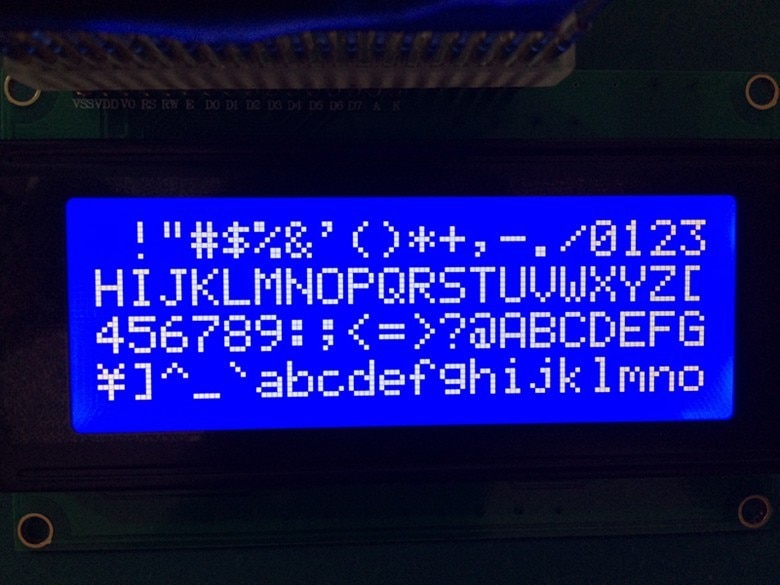
Wiring up your choice of Single Board Computer or Microcontroller to an LCD screen can be a pain sometimes. A regular 16×2 matrix LCD will connect six of your GPIO pins, another five wires for power (ground, 5V, the two backlight pins, and one pin that just gets tied to ground) and one last pin for contrast adjustment. Besides the mess of wires this produces, this eats into your available IO pins, limiting what else you can connect to the board.
That’s why displays like this one come pre-wired for I2C. I2C (Inter-Integrated Circuit) is a fairly simple communication protocol, built for allowing simple chips to talk to each other. And there is a good chance you have already used it, maybe even without realizing. Adafruit’s STEMMA QT interface uses I2C, and it’s what lets a ton of different devices talk to each other over the same two wires. (The module we’re using in this guide isn’t a STEMMA product, just a generic I2C backpack, but STEMMA QT is a good example of how common the protocol already is.)
The Problem, The Solution
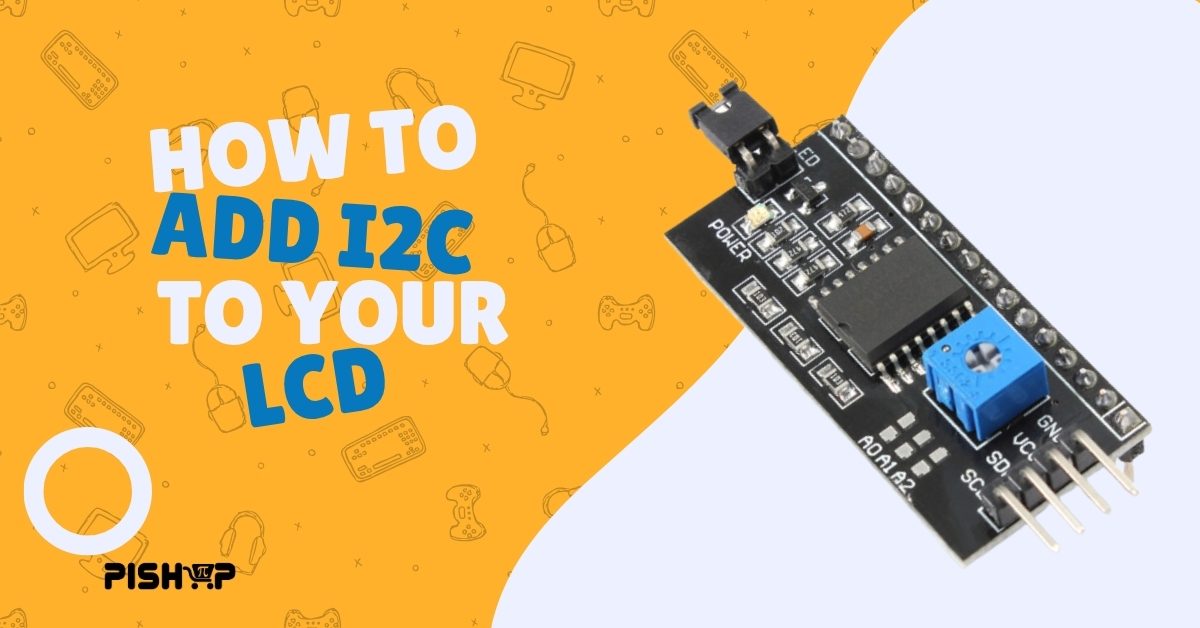
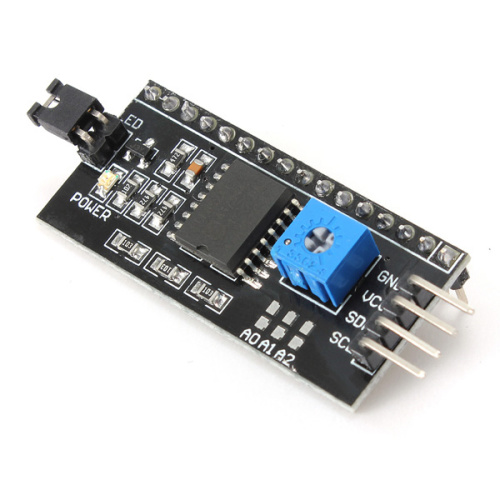
And that’s where our saving grace comes in. Not only does your LCD screen now need just the two IO pins, but the next I2C module you want to connect can use the same two pins, the board will know which module to talk to by using its I2C address. What if you already have a display that doesn’t support I2C? That’s where IIC/I2C/TWI/SPI Serial Port Module comes in. It’s simply a small PCB that you can solder onto the back of your existing LCD and you’re done.
Once it’s wired up, you’ll need a library to actually talk to it. If you’re using Arduino, the built-in Wire library takes care of the I2C side of things, but you’ll also want the LiquidCrystal_I2C library (available in the Arduino Library Manager) to handle sending characters to the screen. Between the two, you get the same simple LCD functions you’d use with a directly wired display, just running over I2C instead.
Once it’s wired up, you’ll need a library to actually talk to it. If you’re using Arduino, the built-in Wire library takes care of the I2C side of things, but you’ll also want the LiquidCrystal_I2C library (available in the Arduino Library Manager) to handle sending characters to the screen. Between the two, you get the same simple LCD functions you’d use with a directly wired display, just running over I2C instead.
On a Raspberry Pi, you’ll need to enable I2C through raspi-config first if you haven’t already. From there, the RPLCD library is a solid option, it talks to the module over smbus2 and gives you the same kind of print and clear functions. It’s worth running i2cdetect -y 1 once everything is wired up too, just to confirm the Pi can actually see the module on the bus before you start writing code.
That’s it. These modules are very simple to use and there are tons of existing libraries for them, whether you are using an Arduino, a Raspberry Pi or something like an ESP32 or Pi Pico.