
How Small Can a Retro Console Get?
Beginner, Getting Started, PiShop, Platforms, Projects, Raspberry Pi, Skills arcade, getting started, raspberry pi, retro, Tech 0
How Small Can a Retro Console Get?
Retro gaming has come a long way from bulky CRTs and tangled controller cables. These days, you can squeeze decades of classic games into something smaller than a deck of cards and that’s exactly what we’re doing here.
In this project, we’ll turn a Raspberry Pi Zero 2 W into an ultra-compact RetroPie console, load it with games, and pair an Xbox One controller over Bluetooth. It’s a great one-day build, perfect for beginners and a fun reminder of just how powerful these tiny boards have become.
What You'll Need
WS 4-Port USB HUB pHAT for Raspberry Pi Zero (if you’d prefer wired controllers)
RetroPie OS
USB flash drive
Xbox One controller
Installing RetroPie on the Raspberry Pi Zero 2 W
RetroPie isn’t included by default in the latest versions of Raspberry Pi Imager, so we’ll need to install it manually using the Custom OS option. Don’t worry — it’s still quick and painless.
Flashing the SD Card
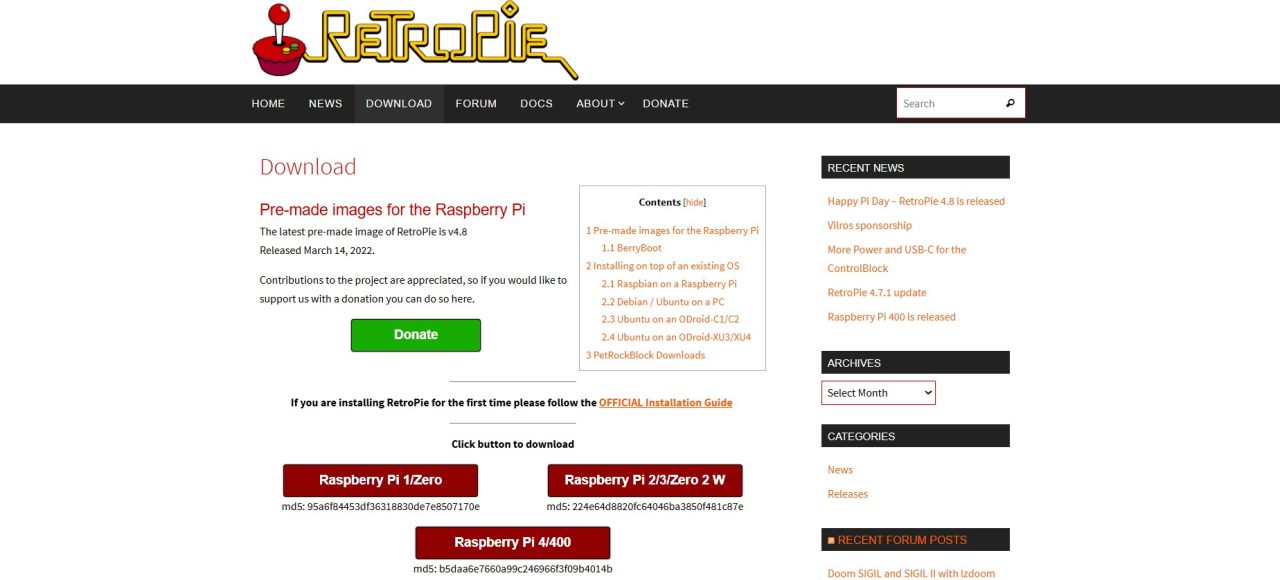
Download the RetroPie image for Raspberry Pi Zero / Zero 2 W from the official RetroPie website.
Open Raspberry Pi Imager on your computer.
Select Raspberry Pi Zero 2 W as the target device.
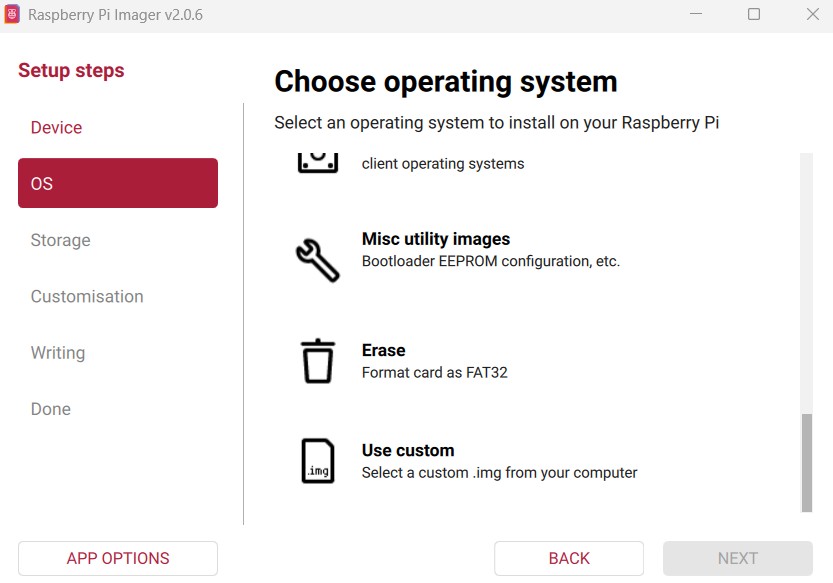
When choosing an operating system, scroll down and select Use Custom.
Choose the RetroPie image you downloaded.
Complete the flashing process.
Insert the microSD card into your Raspberry Pi Zero 2 W and power it on.
On first boot, RetroPie will automatically expand the filesystem and launch EmulationStation.
Adding Games to RetroPie Using a USB Stick
RetroPie doesn’t include any games, so you’ll need to add your own legally owned ROMs. One of the easiest ways to do this on a Pi Zero is via a USB flash drive.
Make sure your USB stick is formatted as FAT32 or exFAT.
Create a folder on the USB stick called
retropie.Plug the USB stick into the RetroPie system and wait a few minutes.
Remove the USB stick and plug it into the computer containing your ROMs.
Copy your ROMs into the appropriate folders inside:
retropie/roms(For example:
snes,gba, orarcade.)Plug the USB stick back into the RetroPie system and wait for the transfer to finish.
Remove the USB stick once activity has stopped.
Restart EmulationStation by pressing F4, or go to Start → Quit → Restart EmulationStation.
Your games should now appear in the menu. If any are missing, repeat the transfer step.
Connecting an Xbox One Controller via Bluetooth
The Raspberry Pi Zero 2 W includes built-in Bluetooth, which makes it perfect for wireless controllers. However, Xbox One controllers require a small configuration tweak to work reliably.
Step 1: Disable ERTM
Press F4 to exit EmulationStation and open the terminal, then run:
sudo nano /opt/retropie/configs/all/autostart.sh
Add the following line above the emulationstation entry:
sudo bash -c 'echo 1> /sys/module.bluetooth/parameters/disable_ertm'
Save and exit:
Press Ctrl + X
Press Y
Press Enter
Reboot the system:
sudo reboot
Step 2: Pair the Controller
From the RetroPie menu, go to RetroPie → Bluetooth.
Select Remove Bluetooth Devices and confirm.
Put your Xbox One controller into pairing mode.
Select Register and Connect to Bluetooth Device.
Choose Xbox Wireless Controller from the list.
When prompted, select DisplayYesNo.
Cancel once pairing completes.
Step 3: Configure Controller Inputs
Press Start on a wired controller.
Select Configure Input.
Hold a button on the Bluetooth controller to begin mapping.
Tip: The triggers may not register immediately. Complete the setup, then use the D-pad to scroll back up to the trigger inputs, press A, and map them manually.
Once configured, you can unplug the wired controller and play wirelessly.
How Small is Too Small
Despite its tiny size, the Raspberry Pi Zero 2 W handles classic systems with ease. You can expect great performance from:
NES
SNES
Game Boy / Game Boy Color
Game Boy Advance
Sega Master System
Sega Mega Drive / Genesis
PlayStation 1 (most titles)
For 8-bit and 16-bit gaming especially, this setup feels right at home.
This build is a great reminder that retro gaming doesn’t need to be big, expensive, or complicated. With just a handful of parts and an afternoon of setup, you can build a console that fits in your pocket and still delivers hours of nostalgia.
If you’re looking for a compact Raspberry Pi project that punches well above its weight, this might be as small as a retro console can get.


