
Getting Started with Raspberry Pi OS: Your First Steps
Thinking of diving into the world of single-board computing? You’re not alone. Raspberry Pi has become a global phenomenon, with an estimated 65 million units sold to everyone from students to professional engineers. But for many of us, the journey begins with a single, crucial question: “Okay, I have my Raspberry Pi… now what?”
This article is your first step. We’ll walk you through the process of getting your Raspberry Pi up and running, focusing specifically on how to install and boot the official Raspberry Pi OS. You’ll learn how to prepare your microSD card and get your new device ready for its first project, no prior experience required. By the end of this guide, you’ll have a fully functional Raspberry Pi ready to bring your ideas to life.
Welcome to the beginnings of your Raspberry Pi journey. Prepping your SD card is the first step to any project. The microSD card serves as the permanent storage for your Raspberry Pi, acting as its hard drive. Unlike a traditional PC, the Raspberry Pi needs its operating system, and all your files, stored on this tiny card. Using the official Raspberry Pi Imager software is the easiest way to ensure a seamless setup, as it downloads and writes the correct operating system image directly onto your card with just a few clicks. This process is essential for everything from building a retro gaming console and setting up a basic media center to creating a custom home automation server. Without a properly prepared microSD card, your Raspberry Pi is just an empty board.
What you’ll need:
or
Flashing the microSD Card
1. Slot SD card into SD adapter or USB adapter and plug into desktop
2. Download Raspberry Pi Imager. Run the setup by choosing your preferred language, the setup wizard should pop-up. It’s a pretty straight forward process of filling in details, accepting the license agreement and creating the desktop shortcut if need be.
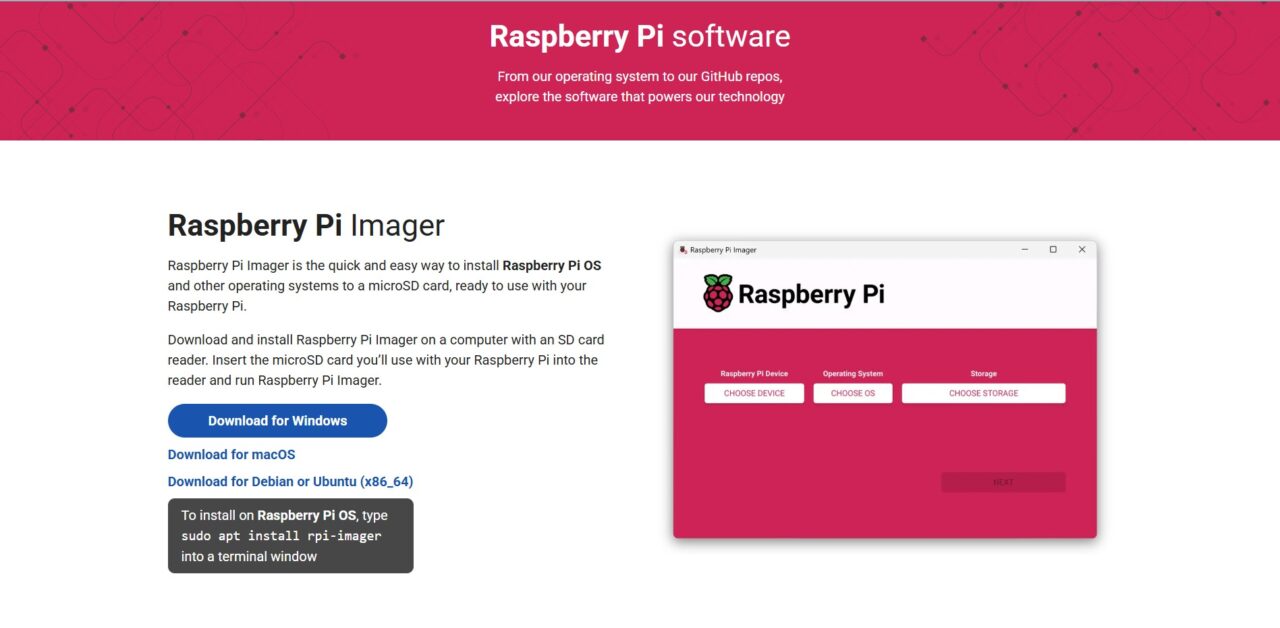

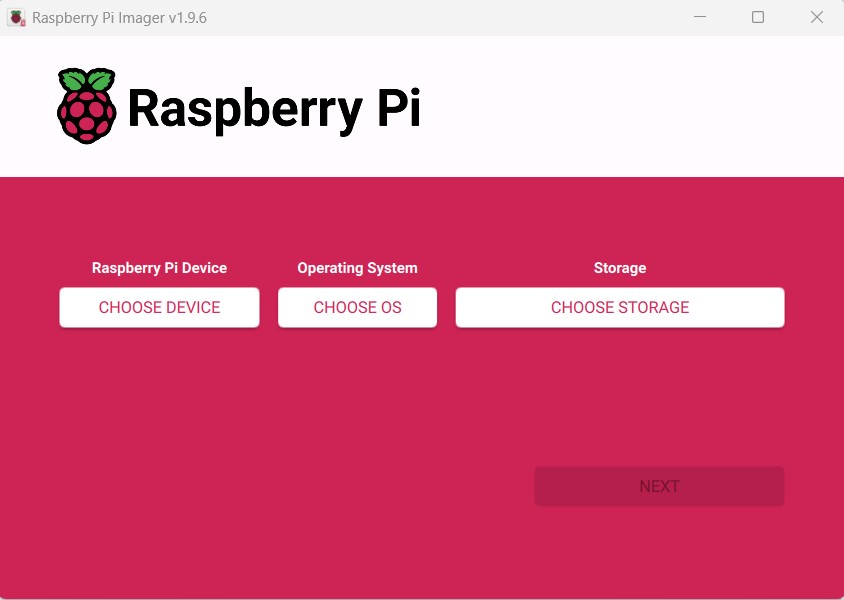
3. Opening Raspberry Pi Imager, you’ll be greeted by the main UI of the Software consisting of 3 blocks. These blocks are where you’ll fill in the details of your build.
- Block 1: The Raspberry Pi Model you are using.
- Block 2: The operating system.
- Block 3: The storage you want to flash. (The microSD card we’ll be using)
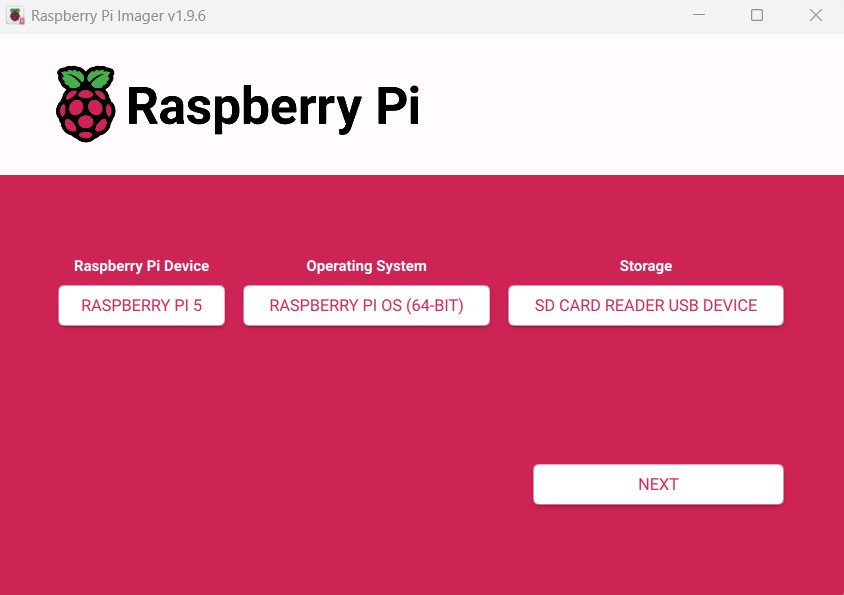
4. Fill in the blocks. Block 1, the Raspberry Pi Model. I’ll be using the Raspberry pi 5 but just choose whichever model you have in mind for your project. We’ll be using the Raspberry Pi OS (64-bit), if you’re using the Raspberry Pi Zero 1 please choose Raspberry pi OS (32-bit) otherwise the 64-bit version should work.
Clicking next will bring up a prompt to edit the OS Settings. In the OS Customization window you can change the password and username, host name, time zones, networks, etc. Filling in these details is not mandatory as you can change them later but it does help in specific situations such as running a headless Pi and having the network details ready without having to set anything up. Remember the username and password to login later. Click save and then Yes to continue. Then Yes one more time.
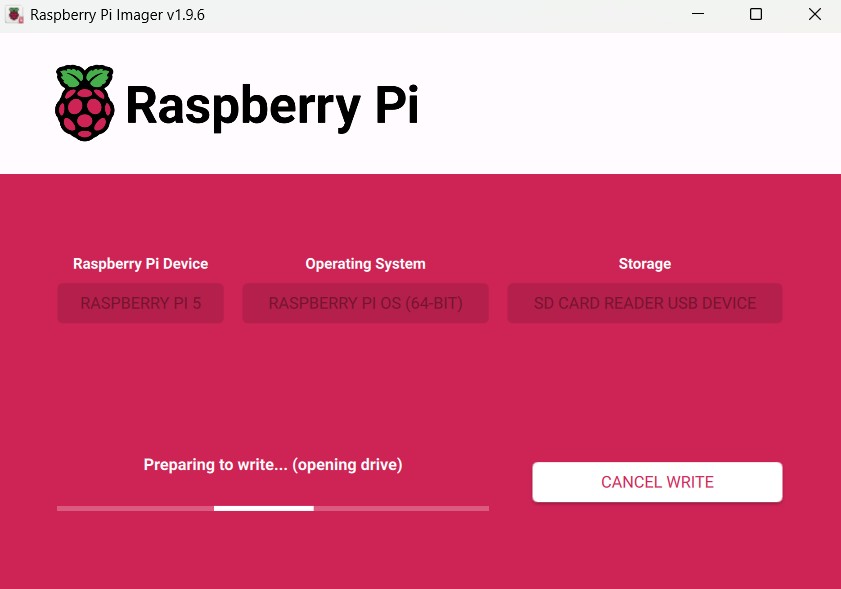
5. Wait for the process to finish.
6. Eject the SD Card from your desktop and insert it into your Raspberry Pi.
7. There will be a few system prompts for setting up but other than that you’re all setup! Now you can program using Thonny or Scratch, browse the internet using Firefox or Chromium and install any packages using the terminal!
Tips and Tricks
Congratulations, you’ve successfully booted your Raspberry Pi! Now that you’re in the desktop environment, you can start exploring. For a smoother experience, here are a few essential tips.
First, always make sure your system is up-to-date by opening the Terminal (the black icon at the top) and running the command sudo apt update && sudo apt upgrade. This keeps your software secure and bug-free.
Second, get familiar with the keyboard shortcuts. Press Ctrl + Alt + T to quickly open a new Terminal window, or use Ctrl + Alt + F4 to close the current window, which is especially useful if a program becomes unresponsive. Lastly, consider using the command line for more advanced tasks. The raspi-config command (accessed by typing sudo raspi-config in the terminal) gives you easy control over advanced settings like enabling SSH, changing your password, or even safely overclocking your Pi for better performance on demanding projects. These small habits will save you time and help you get the most out of your new computer.
Conclusion
We’ve reached the end of our first journey together! By now, you’ve learned that getting started with a Raspberry Pi is a straightforward process. You know how to prepare your microSD card with the official Raspberry Pi Imager, and you have your new computer up and running. More than that, you’ve got a foundation of useful tips and tricks to make your experience smoother and more productive.
The next step is to start building. Whether you want to create a retro gaming console, a smart home hub, or a custom robot, your Raspberry Pi is ready. The only limit is your imagination.
Ready to start your next project? Browse our full selection Articles and Raspberry Pi products and accessories, including everything you’ll need to turn your ideas into reality. Have you already started a project? Share your creations with us in the comments—we’d love to see what you’ve built!


